Last updated November 18, 2026




Free written scope consultation - allowances, timeline, and change-order rules on paper before a single trade is scheduled
Bathroom Remodeling Maintenance Schedule: What to Do and When
Most bathroom remodels show their first signs of failure within 18 months. Not because the work was bad, but because nobody told the homeowner what to do after move-in day. Grout starts to hairline-crack, caulk pulls away from the shower pan, and the exhaust fan that was supposed to handle Aventura’s humidity quietly stops pulling its weight. A bathroom remodel isn’t finished the day the crew leaves. It’s the starting line for a maintenance rhythm that decides whether your investment holds for 5 years or 25. This guide lays out that rhythm month by month and year by year, tied to the materials and systems you actually installed.
Quick Answer
Inspecting and re-sealing your new bathroom’s wet zones within the first 30 to 90 days after move-in, then repeating that inspection twice a year and scheduling one annual deep check of caulk, grout, drains, and ventilation, is what keeps a remodel from failing early. In South Florida, where humidity and hard water speed up wear, standard maintenance intervals should be shortened by roughly 30 to 50 percent compared to national guidance. The single most valuable habit is an annual water-damage inspection focused on the shower pan, toilet base, and supply lines.
Styles & brands we work with
- Kitchen remodeling
- Bathroom remodeling
- Home additions & ADU
- Roofing
- Windows & doors
- Driveway & pavers
- Fence
Table of Contents
- The Critical 90-Day Post-Remodel Window
- Material-Specific Maintenance Timelines
- South Florida Accelerants: Humidity, Salt Air, and Hard Water
- The One Annual Inspection That Catches 80% of Water Damage
- How to Document Your Remodel Materials
- The Year-by-Year Maintenance Schedule
- Common Mistakes to Avoid
- When to Call a Professional
The Critical 90-Day Post-Remodel Window
The first 90 days after your bathroom remodel wraps are the most important window in the entire life of the project. New caulk is still curing, grout is still reaching full hardness, and any early movement in the framing or substrate shows up first at the seams. This is also when workmanship warranties are easiest to invoke, because defects are fresh, documented, and clearly tied to the install rather than to wear and tear. A missed step now can quietly turn into a warranty fight later.
Here’s what to actually do in those first three months:
- Week 1: Run every fixture. Fill and drain the tub, run the shower for ten minutes, flush every toilet twice. Watch for slow drains or water pooling at the pan edges.
- Week 2: Check all caulk lines in the shower and around the tub. Look for gaps, lifting, or milky spots where the bead didn’t set.
- Week 4: Inspect grout joints on the floor and lower shower walls for hairline cracks. Photograph anything you find.
- Week 6: Test the exhaust fan with a tissue held to the grille. If it doesn’t pull the tissue flat, airflow is weak.
- Week 8: Look under the sink cabinet for moisture, and check the toilet base for any rocking or darkening.
- Week 12: Do a full walkthrough with your material list in hand and note anything that needs attention while the warranty is still fresh.
If you spot a soft spot in the floor near the shower, that’s not “settling.” That’s water. Call the contractor who did the work immediately. Groundwork Construction Co. backs every project with the 730-Day Done Right Promise, so if it’s not done right, we make it right. That guarantee is easiest to honor when the homeowner calls in month two instead of month twenty. Aventura homeowners with a recent remodel should treat these 90 days as a formal checklist, not a vague intention.
Material-Specific Maintenance Timelines
Generic advice that treats all bathrooms the same will wreck your schedule. Cement grout, epoxy grout, natural stone, porcelain, and a curbless shower pan each fail on their own timeline. Match your maintenance to what’s actually in your bathroom and you’ll spend less time and money over the life of the room.
Cement Grout vs. Epoxy Grout
Cement-based grout is porous. It absorbs water and stains and needs sealing every 12 months in Aventura’s climate, sometimes every 9 months on a shower floor. Epoxy grout is essentially non-porous and doesn’t need routine sealing, but it can chip and it needs a re-grout touch-up if a joint cracks. Epoxy lasts years longer in a wet zone, but if it does fail, it’s more labor-intensive to repair. Sealing cement grout is a Saturday morning job. Fixing epoxy that cracked through is a contractor job.
Natural Stone vs. Porcelain
Marble, travertine, and other natural stone need pH-neutral cleaner only, a sealer refresh every 12 to 18 months, and immediate blotting of any acidic spill (lemon, vinegar, wine). Porcelain is far more forgiving, needs no sealing, and only requires a periodic deep clean. In Aventura’s hard water, natural stone will show mineral etching faster than porcelain, especially on shower walls where water sits.
Curbless Shower Pans vs. Tiled Curbs
A curbless shower pan relies on correct slope and a continuous waterproofing membrane. It needs the drain inspected every 6 months for hair and soap build-up since there’s no curb to slow water, and it should be tested annually with a slow pour to confirm the pan drains fully and doesn’t pool. A tiled curb shower is more forgiving on day-to-day maintenance but depends entirely on the caulk joint between the curb and the pan holding. That joint is the number-one failure point in a tiled shower, and it should be checked every 6 months.
South Florida Accelerants: Humidity, Salt Air, and Hard Water
Standard maintenance schedules are written for climate averages that don’t match Aventura. The combination of year-round humidity, salt air moving in off the coast, and our hard municipal water cuts the lifespan of caulk, grout sealer, and metal finishes by a meaningful margin. A homeowner in Aventura who follows a national blog’s “reseal every two years” advice will be resealing two years too late.
Here’s what changes locally:
- Humidity: Aventura sits in a subtropical zone where indoor relative humidity regularly climbs above 60 percent even with the AC running. That means caulk shrinks and pulls faster, and any moisture trapped behind tile has less chance to dry. Plan on caulk inspection every 6 months, not annually.
- Salt air: Homes closer to the Intracoastal and the beach see faster corrosion on chrome, brushed nickel, and any cheap pot metal fixtures. Wipe metal fixtures dry after use and plan on replacing builder-grade hardware sooner than the national average.
- Hard water: Aventura’s water carries enough dissolved minerals to leave scale on glass, fixtures, and grout lines. A squeegee after every shower and a monthly vinegar soak on the showerhead will add years to your finishes.
We routinely tell Aventura homeowners to shorten every “reseal” or “recaulk” interval on this page by one-third. It’s not upselling. It’s what the local climate actually demands. If your shower caulk was replaced last spring and it’s already lifting at the corners in August, that’s not a defect. That’s Aventura doing what Aventura does.
The One Annual Inspection That Catches 80% of Water Damage
If you only do one thing on this entire schedule, do this annual walkthrough. In our experience, the overwhelming majority of bathroom water damage that turns into a gut-and-redo job was visible as a small, cheap-to-fix issue a year earlier. The trick is checking the right five things in the right order.
- Shower pan and curb: Fill the shower with an inch of water and let it sit for 30 minutes. If the level drops beyond normal evaporation or you see dampness outside the shower footprint, stop and call a professional.
- Toilet base: Rock the bowl gently side to side. Any movement means the wax ring or flange is compromised and needs a reset.
- Supply lines under the sink: Run your hand along each braided line and shutoff valve. Look for green crust, white mineral deposits, or dampness.
- Caulk lines: Press a fingernail into the caulk at the shower corners. If it’s soft, gummy, or pulling away, it’s time to replace.
- Exhaust fan: Confirm it’s pulling air and venting outside, not into the attic. In Aventura’s humidity, a fan venting into the attic space is a mold problem waiting to happen.
Fifteen minutes once a year. That’s the whole cost of catching a $1,200 shower pan reseal before it becomes an $18,000 tear-out. Groundwork Construction Co. of Aventura offers free estimates if your annual inspection turns up something that needs a pro.
How to Document Your Remodel Materials
The single most underrated habit after a remodel is keeping a materials binder. Six years from now, when a piece of grout needs to be matched or a tile chips, you’ll need the exact brand, color, SKU, and batch. Without that record, you’re guessing, and guessing on a discontinued tile means replacing a whole wall instead of one square.
Build the binder in the first week after your remodel closes out:
- Photograph every label before the contractor discards it: tile boxes, grout bags, caulk tubes, fixture spec sheets, sealant cans.
- Write down the grout color code and brand. This is the number one item homeowners can’t match later.
- Save at least 2 spare tiles from every installed type and store them dry, flat, and labeled.
- Log the fixture models: toilet, faucet, shower valve, exhaust fan. Future repairs and warranty claims need that model number.
- Keep a PDF of your contract, warranty, and material invoices in the same folder as your home insurance file.
When we finish a bathroom remodel in Aventura, we hand over a materials list along with the closeout documentation. If you renovated with a different contractor and don’t have one, start the binder now by pulling model numbers directly off the fixtures. It’s a 20-minute task that pays for itself the first time you need a touch-up.
The Year-by-Year Maintenance Schedule
Here’s the full rhythm, broken into a schedule you can put on the calendar. Adjust intervals shorter if your Aventura home sees heavy daily shower use or sits close to the coast.
Months 1 – 3 (Post-Remodel Window)
- Run all fixtures and check for slow drains or pooling.
- Inspect caulk and grout for hairline cracks and lifting.
- Test the exhaust fan’s airflow with a tissue.
- Start the materials binder and photograph all labels.
- Do a formal walkthrough before warranty work becomes harder to invoke.
Months 4 – 12
- Reseal cement grout at month 9 (or year 1 for a lightly used guest bath).
- Deep clean the shower glass with a hard-water scale remover.
- Inspect and touch up caulk at 6 months and again at 12.
- Run the annual water-damage walkthrough (see the section above).
Years 2 – 5
- Reseal grout every 9 to 12 months.
- Re-caulk wet zones every 18 to 24 months.
- Replace the showerhead and any scaled fixtures if the finish has failed.
- Re-level or replace the toilet wax ring only if the base has moved.
- Have the shower drain and pan professionally tested if you notice any dampness outside the footprint.
Years 5 – 10
- Expect to replace the exhaust fan motor or the whole unit.
- Plan on re-grouting high-traffic joints.
- Inspect the shower valve cartridge and replace if water pressure has dropped.
- Consider a full re-seal and re-caulk reboot as a project rather than a weekend task.
Years 10+
- Expect at least one major refresh (new caulk, grout, and a fixture update) to extend the room another decade.
- Any structural or waterproofing failure at this age means a proper re-tile, not a patch.
- Bring in a professional for a full inspection if you’re planning to sell the home.
This is the rhythm most homeowners never get told. Every step is cheap or free on its own. Skipped steps compound into the repair bills that give remodel horror stories their reputation. Looking at other projects on your property? Our guide to Driveway & Pavers in Aventura covers the same rhythm for exterior hardscape, and our Fence Installation in Aventura page walks through material longevity for fence systems you may be maintaining on the same schedule.
Common Mistakes to Avoid
- Skipping the 30- and 90-day walkthrough. Homeowners who don’t formally document the first 90 days lose leverage when small defects show up later and the contractor can’t tell if it’s the install or wear.
- Using generic “reseal every two years” advice. In Aventura’s humidity, that advice will leave your grout sealer failing for months before you notice. Cut the interval by a third.
- Cleaning natural stone with vinegar or a generic bathroom spray. Acidic cleaners etch marble and travertine permanently. Use pH-neutral stone cleaner only.
- Ignoring a rocking toilet as “just a little wobble.” The wax ring is failing, and every extra month means more water soaking into the subfloor.
- Assuming your exhaust fan is working because it makes noise. A fan spinning without air movement isn’t venting anything. Test airflow monthly during Aventura’s wet season.
- Throwing away spare tiles and grout labels. Six years from now, a chipped tile becomes a wall replacement because you can’t match the SKU.
- Venting the exhaust fan into the attic instead of outside. Common in older Aventura homes, this pushes moisture into the attic and can cost far more than the fan’s worth.
When to Call a Professional
Some issues can wait for your next scheduled maintenance window. Others can’t. Call a licensed professional immediately if you notice water pooling outside the shower footprint, a soft or spongy floor near the toilet or shower, any sign of mold in the caulk or grout, darkening under the sink cabinet, a rocking toilet with visible water staining, a shower valve leaking behind the wall, or a shower pan that fails a fill test. Do not tackle shower pan repair, shower valve replacement, or a curb removal and re-slope as a weekend DIY. The waterproofing layer behind the tile is what protects your floor structure, and a failed re-do can turn a $900 repair into a $15,000 re-tile.
Groundwork Construction Co. of Aventura offers free estimates in Aventura – call (833) 716-6251. Calls are answered by a live person 24/7, and our technicians arrive background-checked and in uniform. Every project is covered by the 730-Day Done Right Promise, so if it’s not done right, we make it right.
See the difference
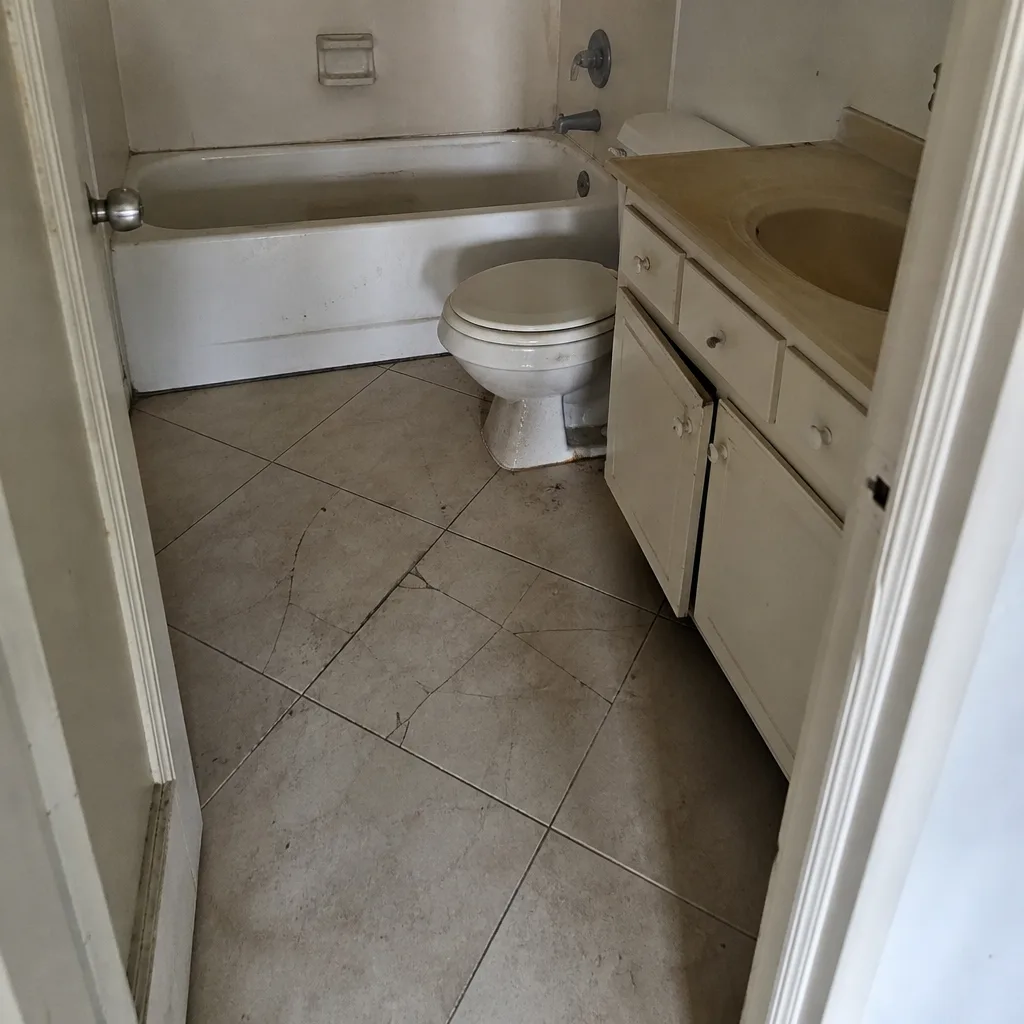 Before
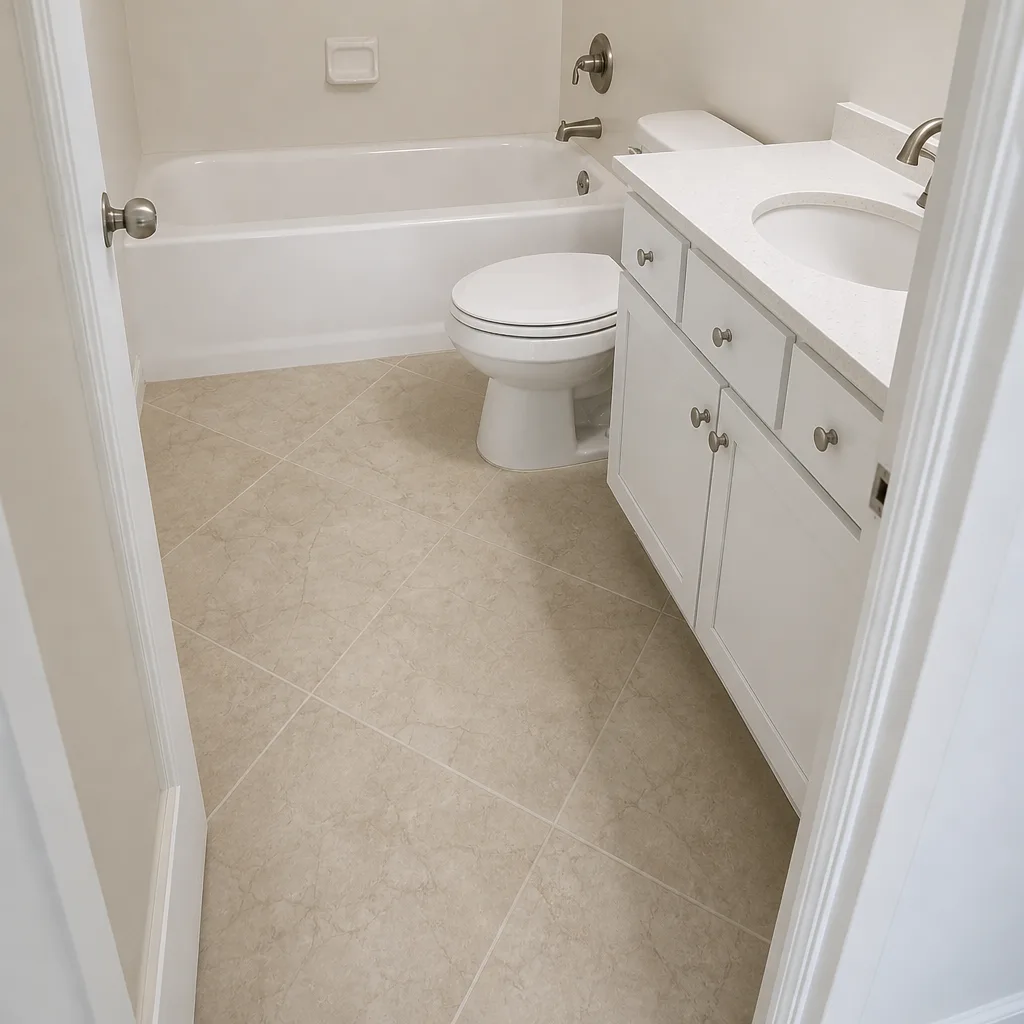 After
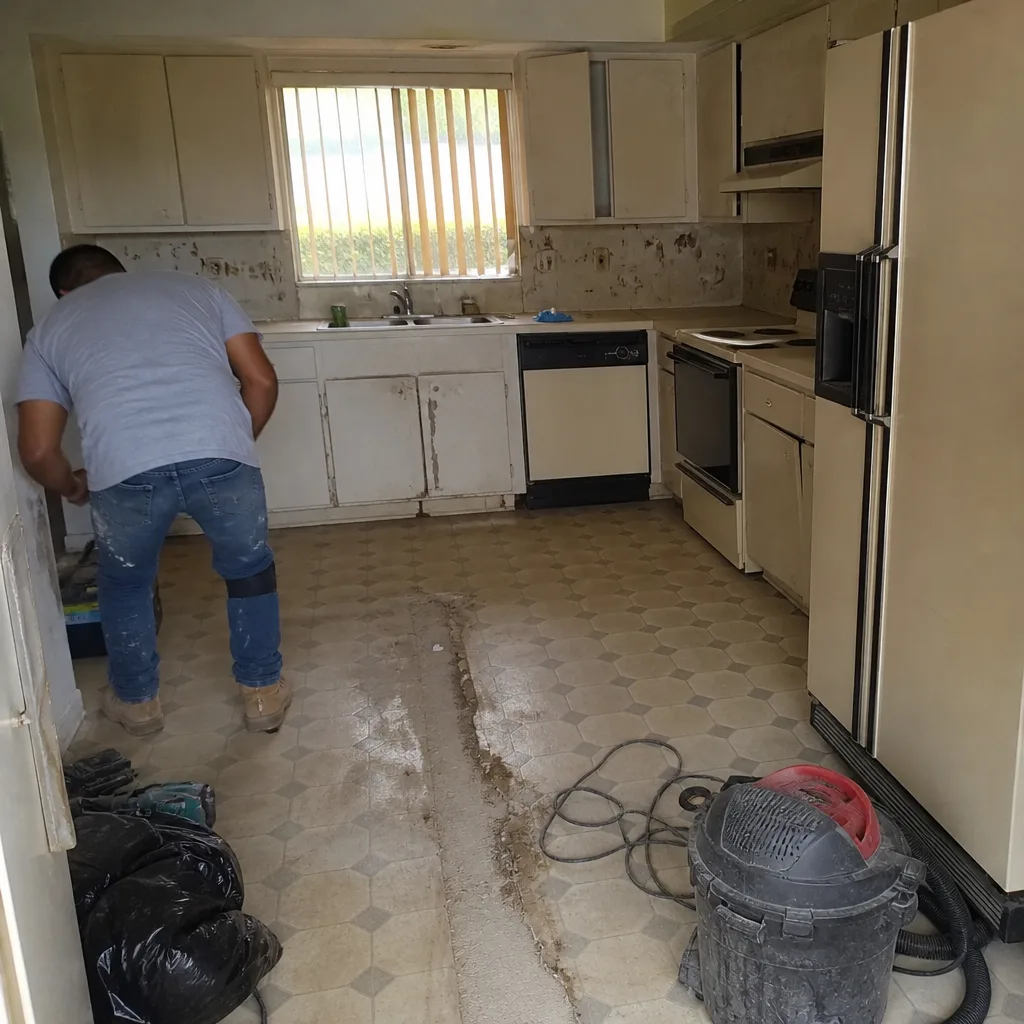 Before
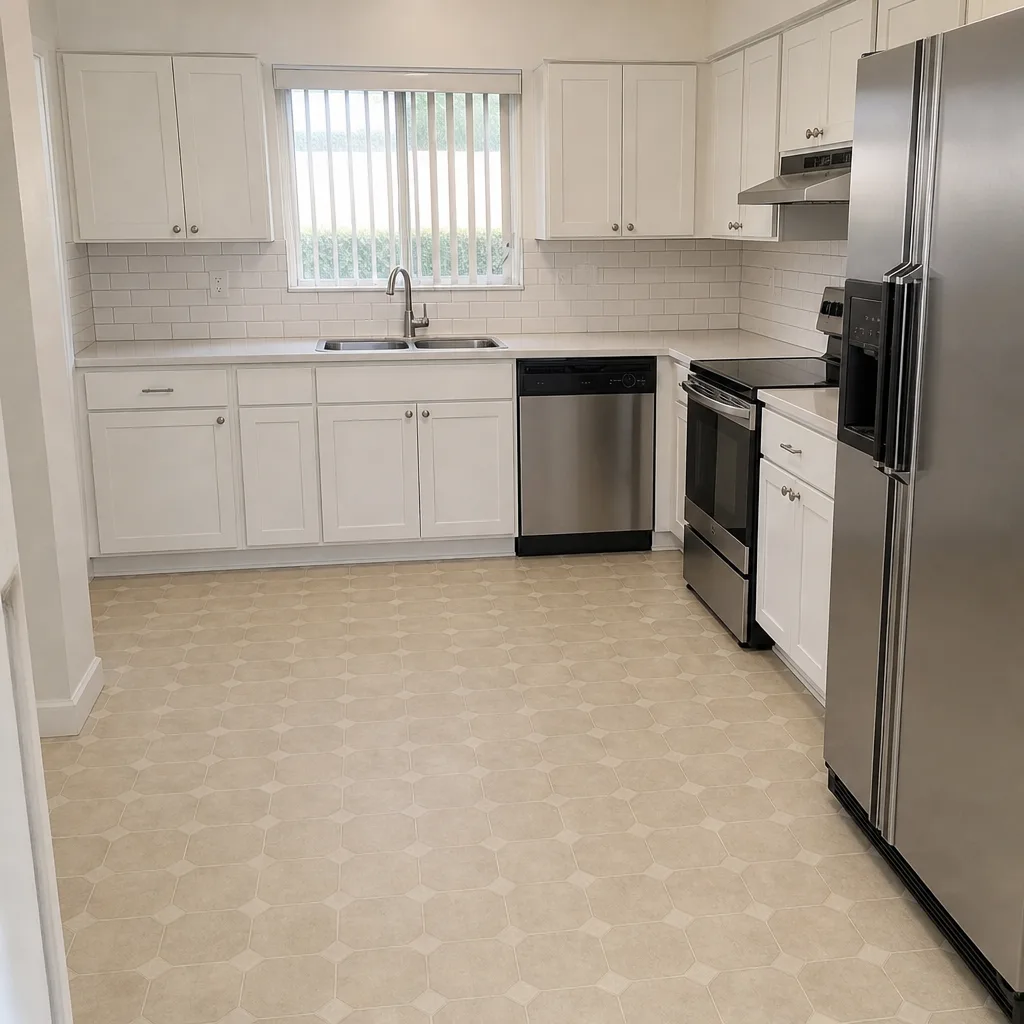 After
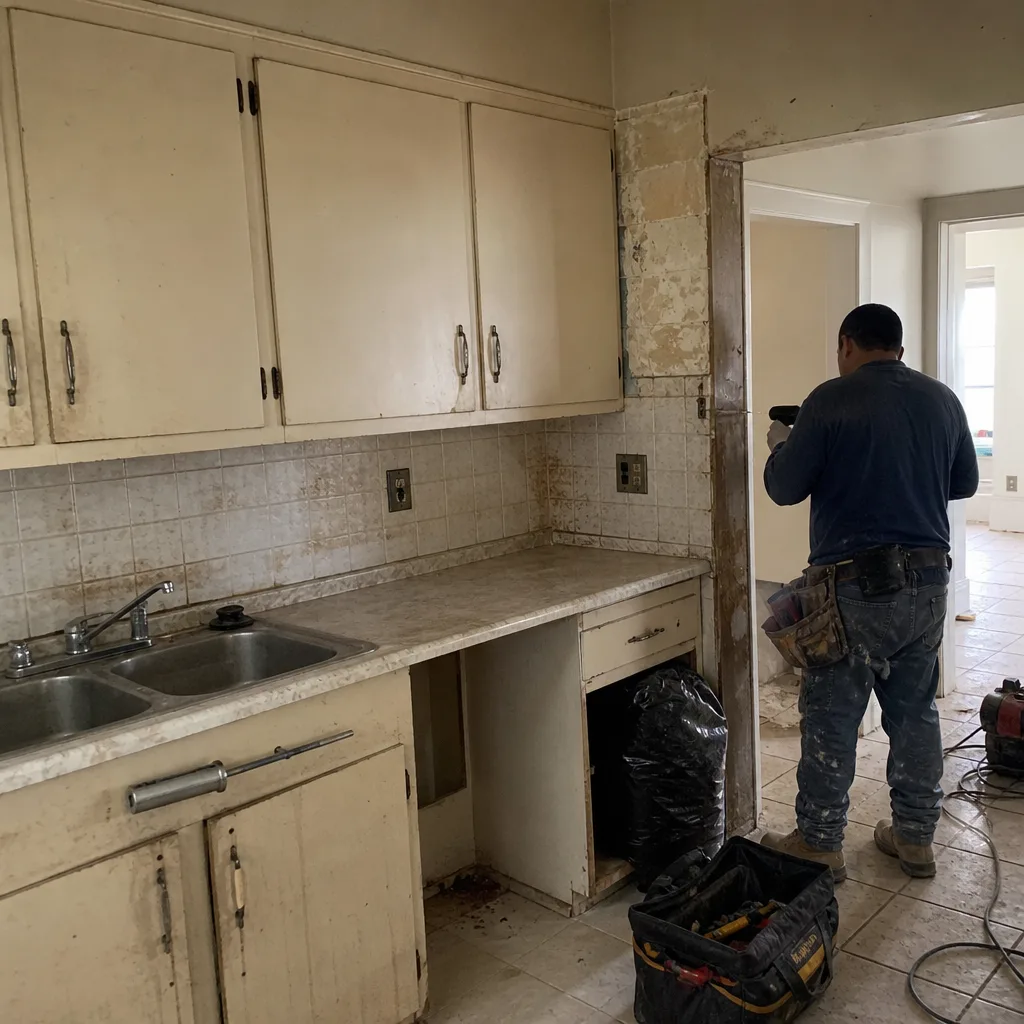 Before
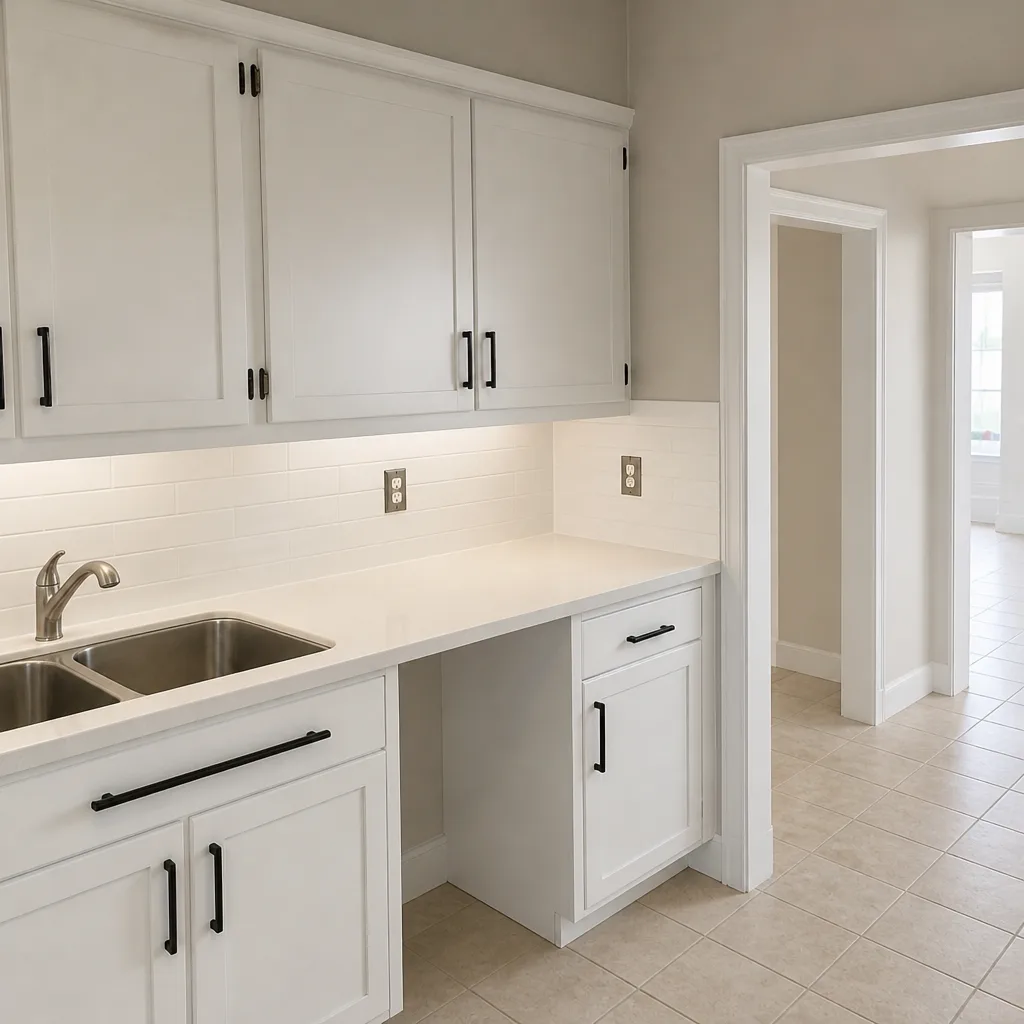 After
Frequently Asked Questions
Reseal cement-based grout every 9 to 12 months in Aventura, and every 6 to 9 months on a shower floor, because humidity and hard water break the sealer down faster than national averages. Epoxy grout doesn’t need routine sealing and only needs a touch-up if a joint cracks. Call (833) 716-6251 for a free estimate if you’re not sure which grout you have.
In the first 90 days, run every fixture, inspect caulk and grout for cracks or lifting, test the exhaust fan airflow with a tissue, and photograph every material label for your maintenance binder. This window is when workmanship issues are easiest to fix and easiest to tie to the install. Call (833) 716-6251 for a free estimate if an inspection turns up something that needs a pro.
Fill the shower with an inch of water, let it sit for 30 minutes, and watch the level. If it drops more than normal evaporation, or you see dampness outside the shower footprint, the pan is compromised. Stop using the shower and call a professional – shower pan repair is not a DIY job. Call (833) 716-6251 for a free estimate in Aventura.
No. Workmanship warranties cover defects from the installation, not wear-and-tear failures from skipped maintenance. Documenting your 90-day walkthrough and following a reseal schedule is what keeps you inside warranty coverage if a defect does surface. Groundwork Construction Co. of Aventura backs every project with the 730-Day Done Right Promise – call (833) 716-6251 for a free estimate.
Re-caulk the shower every 18 to 24 months in Aventura, and inspect the wet-zone caulk lines every 6 months. Salt air, humidity, and daily use break the caulk bead down faster here than in drier climates. If the caulk pulls away at a corner early, call (833) 716-6251 for a free estimate rather than patching over it.
Yes. A well-maintained bathroom holds up better at resale in Aventura’s market and avoids the deferred-maintenance deductions that show up during inspection. Buyers pay for a bathroom that’s been cared for, not just one that was recently renovated. If you’re planning a full refresh or a larger project like an addition, our Home Additions & ADU in Aventura page covers how to plan it – call (833) 716-6251 for a free estimate.
The Bottom Line
A bathroom remodel’s lifespan is set by what happens after the crew leaves, not during the build. The 90-day post-remodel window is your best chance to catch install defects while they’re still fresh. South Florida’s humidity, salt air, and hard water shorten every standard maintenance interval by roughly a third. Match your reseal and recaulk schedule to your actual materials – cement grout vs. epoxy, natural stone vs. porcelain, curbless pan vs. tiled curb – and do the annual water-damage walkthrough once a year. Do that, and a well-built bathroom in Aventura will hold for 20-plus years instead of five. If any part needs a pro, Groundwork Construction Co. of Aventura is here – call (833) 716-6251 for a free estimate and start with the Groundwork Construction Co. of Aventura home page for our full service lineup.
Written by the team at Groundwork Construction Co. of Aventura.