Last updated November 18, 2026





Free written scope consultation - allowances, timeline, and change-order rules on paper before a single trade is scheduled
Bathroom Remodeling Troubleshooting: Common Problems and How to Fix Them
Grout cracking within a year of a completed bathroom remodel is almost never a grout problem. It’s a substrate movement problem, and replacing the grout without fixing the cause means you’ll be doing it again next year. The most expensive failures we see in Aventura condos and homes don’t show up during the project walkthrough. They surface 14 to 24 months later, when the tile looks fine from standing height but the shower pan underneath has been quietly taking on water. This guide is about diagnosing those late failures at the root, deciding what’s a warrantable defect versus wear, and fixing the ones that matter before they cost you a full tear-out.
Quick Answer
Most post-remodel bathroom failures trace back to five root causes: substrate flex under tile, poor surface prep before caulk, undersized or restricted supply lines, wrong exhaust duct routing, and inadequate ventilation behind doors and inside wall cavities. Diagnosing the root cause first – before patching grout, recaulking, or replacing a fixture – is what separates a permanent fix from a repeat repair. If the problem is leaking or mold behind the tile, stop using the shower and get a professional inspection before doing anything cosmetic.
Styles & brands we work with
- Kitchen remodeling
- Bathroom remodeling
- Home additions & ADU
- Roofing
- Windows & doors
- Driveway & pavers
- Fence
Table of Contents
- Why grout cracks within a year (and what it actually signals)
- Failing caulk at the tub surround: prep, not product
- Low water pressure after a remodel: the supply line diagnosis
- Exhaust fan noise and moisture: duct routing problems
- How to tell where a bathroom leak is actually coming from
- Chipped, cracked, or loose tile inside the warranty period
- Mold behind the tile: surface fix or full demolition?
- The 90-day post-remodel inspection checklist
Why Grout Cracks Within a Year (and What It Actually Signals)
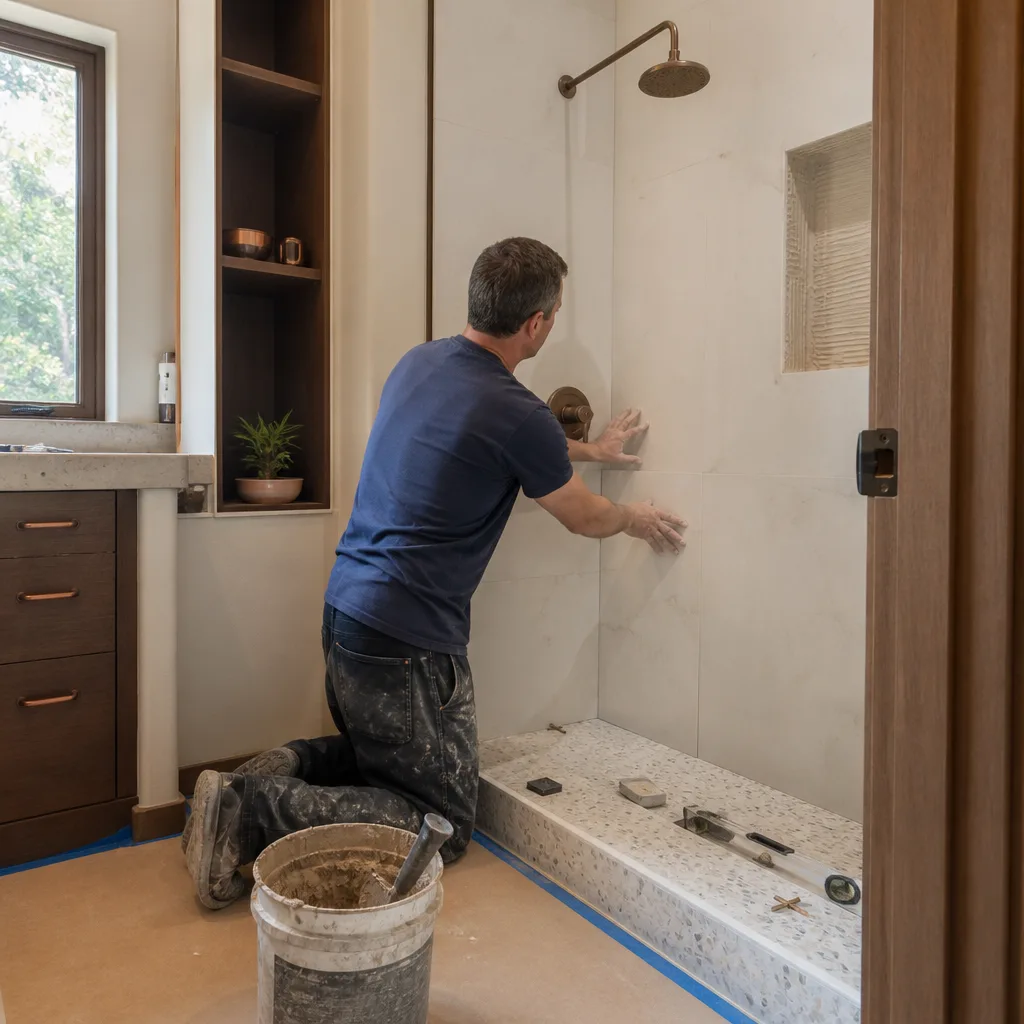
Hairline grout cracks along the floor perimeter of a shower or around the base of a wall tile are a movement signal, not a grout failure. Cementitious grout has some flex, but it can’t absorb the deflection a wood subfloor or an improperly secured cement board will produce underfoot. When we open a floor in an Aventura bathroom that’s been cracking for a year, the cause is almost always one of three things: a subfloor that wasn’t stiffened to the tile manufacturer’s deflection standard (usually L/360 or better), cement board that was screwed but not thinset-bedded to the subfloor, or missing movement joints at the room’s perimeter and at any plane change.
Here’s how to tell grout movement apart from something worse:
- Hairline cracks along a straight run, no tile lip: usually substrate deflection or a missing movement joint. Not yet a water problem.
- Grout cracking with one tile sitting proud of its neighbors: a debonded tile. Water can now get behind it.
- Cracks that only appear on the floor and follow the joist direction: subfloor deflection, not a grout mix issue.
- Cracks spreading from a corner outward: substrate movement at a hard joint where there should be a soft joint.
The fix is not a grout color-match tube. If the cracks are hairline and the tile is sound, the honest repair is to rake out the affected grout, install a flexible sealant at the movement joints, and monitor. If any tile is loose, that section of floor comes up, the substrate gets corrected, and the tile goes back down. Cosmetic regrouting over a moving floor is a 12-month band-aid.
Failing Caulk at the Tub Surround: Prep, Not Product
Caulk that peels, mildews, or pulls away at the tub-to-tile joint within 18 months is a surface prep problem 9 times out of 10. The sealant itself is rarely the culprit. What fails is the bond: caulk won’t stick to a dusty, damp, or soap-scummy surface, and it won’t stay stuck over old caulk that’s still slightly flexible underneath. In Aventura’s humidity, that failure window shrinks. A joint that would last four years in a dry climate can start peeling in 14 months here if the prep was rushed.
The correct sequence, and the one to insist on if you’re having this redone:
- Remove all old caulk completely – not just the visible bead, but the residue in the joint.
- Clean the joint with denatured alcohol or a dedicated caulk remover, then let it dry fully. A hair dryer on low helps.
- Fill any joint deeper than 1/4 inch with backer rod so the caulk has something to bond to on two sides.
- Apply 100% silicone (not paintable latex) at wet-area joints, tooled smooth within 5 minutes.
- Don’t run water in the tub or shower for 24 hours.
One nuance: caulk is a maintenance item, not a warranty item, in almost every residential contract. If it’s been 3 years, that’s normal upkeep. If it peeled in 6 months, that’s prep and worth raising with your contractor.
Low Water Pressure After a Remodel: The Supply Line Diagnosis
If the pressure at the shower head dropped after a remodel but the kitchen sink still blasts, the problem is almost always on the fixture side, not the house main. The three usual suspects are an undersized supply line to the new fixture, a partially closed angle stop behind the wall or vanity, or debris (solder, pipe dope, mineral scale) lodged in the new cartridge or the shower head’s flow restrictor.
Work through it in this order before anyone opens a wall:
- Check the angle stops. New fixtures are often installed with quarter-turn stops that get closed during installation and only partially reopened. Turn both fully counterclockwise.
- Remove the shower head or faucet aerator and check for debris or a clogged screen. Soak in white vinegar for an hour if it’s scale.
- Test pressure at a nearby fixture on the same branch. If a bathroom sink on the same wall also runs weak, the restriction is upstream in the branch line, not the shower valve.
- Pull the cartridge. A new cartridge installed without flushing the line first will trap solder beads or pipe dope. This one causes more “low pressure” calls than any other in Aventura remodels.
- Only then suspect the supply line sizing. Half-inch PEX or copper to a single shower valve is enough; a 3/8-inch branch to a rain head with a high-flow valve is not.
If the shower is a rain-head install with a thermostatic valve and pressure is inconsistent between hot and cold, the mixing valve itself is worth checking before anything else. That’s a fixture spec conversation, not a plumbing emergency.
Exhaust Fan Noise and Moisture: Duct Routing Problems
A bath fan that rattles, whines, or seems to run but never actually clears the mirror is usually a duct routing failure, not a fan failure. Two mistakes cause most of it. First, the duct was run in flexible accordion hose with too many bends, which cuts airflow and lets the fan motor strain and whine. Second, the duct terminates in the attic or a soffit rather than through the roof or a wall – a code violation in Florida and a direct path for that moist air to come back into the bathroom through the ceiling.
What to look for:
- Smooth rigid or semi-rigid duct, not the foil accordion hose, and the shortest run possible with no more than two gentle 90-degree bends.
- Termination outside the building envelope, with a backdraft damper. In Aventura’s climate, terminating in an attic creates condensation and eventually a mold problem above the bathroom ceiling.
- Duct insulated in unconditioned space, so warm moist air doesn’t condense inside the duct and drip back down.
- Fan sized to the room. A typical 5×8 Aventura bathroom needs roughly 50-80 CFM; a big primary bath with a soaking tub needs more.
If the fan is running but the mirror still fogs after a 10-minute shower, the fan is underperforming, not the mirror’s fault. That’s a duct and sizing conversation, and it’s worth fixing before tile and paint above the vanity start showing moisture damage.
How to Tell Where a Bathroom Leak Is Actually Coming From
Bathroom leaks have four possible origins: the fixture itself, the supply line, the drain connection, or the waterproofing membrane behind the tile. The fix is completely different for each, and the wrong diagnosis is expensive. Recaulking a shower pan that’s leaking from the drain connection just hides the problem for six months while the subfloor soaks.
Use this elimination sequence. It works on any Aventura bathroom and doesn’t require opening anything up:
- Isolate the supply side. Turn off every fixture but leave the water main on. Watch the water meter for 20 minutes. If it moves, the leak is on a pressurized supply line – call a plumber, not a tile contractor.
- Test the drain only. Pour a bucket of water down the shower drain with no other water running. If a stain appears on the ceiling below, the drain connection or its gasket is failing.
- Test the shower pan. Plug the drain, run 1 inch of water into the pan, mark the level, and leave it 8 hours. If the level drops or a new ceiling stain appears, the waterproofing membrane has failed.
- Test the fixture. Run the shower head and tub spout for 5 minutes with the drain open. If moisture appears at a specific wall location only while those are running, it’s a fixture or supply connection inside that wall.
- Check the toilet. A wax ring failure and a supply-line weep both produce ceiling stains in a bathroom below. Dye a tank of water with food coloring and check the ceiling below after a flush.
Stop here. Once you know which of the four categories you’re in, you know whether it’s a plumber’s job or a waterproofing job – and the two are very different conversations. If a membrane has failed, nobody recovers it with a surface sealant; the affected section of tile and substrate gets replaced.
Chipped, Cracked, or Loose Tile Inside the Warranty Period
A tile that chips, cracks, or lifts off within 12-24 months of a completed remodel is a legitimate warranty conversation if you document it correctly. The category matters: a chip at a corner from dropped shampoo bottle is homeowner damage; a tile that lip-tents or hollows out underfoot with no impact is a workmanship issue. The distinction, in almost every residential contract, comes down to whether the failure is tied to the installation (adhesion, substrate, wet-area prep) or to something that happened to it after turnover.
Document it this way, in this order:
- Photograph from standing height and from 6 inches away, with a tape measure in frame to show scale. Date every image.
- Place a straightedge across the affected tile and photograph the gap. A lip-tented tile shows deflection or a debond; a chipped corner does not.
- Tap adjacent tiles with the handle of a screwdriver. A hollow, drummy sound on neighboring tiles means the problem is spreading under the surface, not isolated to the one you noticed.
- Note when it appeared relative to the completed project. “Started in month 14” is a strong detail; “sometime last year” is not.
- Send it in writing with a specific request: an in-person inspection, not a phone diagnosis. Give the contractor a 10-day window to respond before you escalate.
Two things determine the outcome: the tile itself (many tile manufacturers give a 1-year materials warranty, so if the tile is cracking from a manufacturing defect, that’s a different claim than the installation), and the workmanship warranty. A standard one-year workmanship warranty covers the installation. A longer one gives you real leverage at month 20. This is where the 730-Day Done Right Promise matters – if a Groundwork team installs a shower in Aventura and a tile lifts two years later, we come back and fix it, because it’s covered.
Mold Behind the Tile: Surface Fix or Full Demolition?
Mold found behind tile after a remodel is either a ventilation problem that colonized the surface, or a waterproofing failure that’s been feeding moisture into the substrate for months. The two require very different responses, and the only honest way to know is to open a small inspection area, not to guess from the bathroom side. If the mold is on the surface of the tile or the caulk line, a bathroom-specific cleaner and better ventilation will solve it. If it’s on the backer board behind the tile, you’re dealing with a compromised membrane and the affected section of the shower has to come out.
Signs it’s surface, not structural:
- Mold is only along the caulk line and within 3 inches of a wet-area joint.
- No soft spots in the drywall-ceiling joint at the shower perimeter.
- No musty smell when the bathroom has been closed up overnight.
- Fan is either absent, undersized, or the duct is terminating in the attic (see the exhaust section above).
Signs it’s behind the tile, not the surface:
- A musty smell that returns within days of cleaning.
- Mold visible through a crack in grout or caulk, not just on the surface.
- Tiles that are hollow-sounding when tapped.
- Water staining or efflorescence (white crusting) on the drywall or grout nearby.
- Any prior leak that was “fixed” with surface sealant.
If you’re in the second category, get a second opinion before you call the original contractor. That’s not about being coy – it’s about starting with a neutral diagnosis of what’s actually behind the tile. Bring in a contractor who hasn’t touched the project, get a written scope, and then decide whether the fix is a warranty claim with the original installer, a repair you contract out, or a full shower rebuild. In Aventura, where a bathroom in a mid-rise building sits over someone else’s ceiling, a slow waterproofing leak is a both a financial and a neighbor-relations problem. Diagnose it in weeks, not months.
The 90-Day Post-Remodel Inspection Checklist
The 90-day window after a completed remodel is when most workmanship issues are still unambiguously inside the warranty. Walk the bathroom once at 30 days, once at 60, and once at 90, with the same short list. What you’re looking for is change over time – something that appeared between inspections is a much stronger warranty claim than something you noticed “at some point.”
- Water test at every wet joint. Run the shower for 5 minutes, wipe the joint dry, and inspect the caulk line at the tub and shower pan. Any separation, bubbling, or softness: photograph and note.
- Grout probe. Run a fingernail along the floor and wall grout. A crack you feel is worth noting; a crack you can insert a fingernail into is a water intrusion path.
- Tap every tile on the floor and shower wall. A hollow sound is a warning. A hollow sound in an area that wasn’t hollow at the 30-day walk is a stronger warning.
- Ceiling and adjacent-wall check. Look at the ceiling below the bathroom (in a two-story Aventura home) and the wall behind the shower for water staining or paint bubbling. Do this at 30 and 90 days, with two matching photos in hand.
- Fan performance. Run the fan for 10 minutes with the door closed. Confirm the mirror clears and the fan doesn’t rattle. If the fan is weak or the mirror stays fogged, the duct is the likely culprit.
- Door and window swing. In Aventura humidity, doors can swell and bind within 90 days if the bathroom lacks proper exhaust. A sticking door isn’t a door problem – it’s a moisture problem.
- Drain flow. Fill the sink and shower with the drain plugged, then pull the plug. Slow drainage at 90 days suggests partial blockage from construction debris, worth clearing while the contractor is still on the clock.
Send the results to your contractor in a single documented email at day 90, with photos and dates. Keeping the record tight is what separates a clean warranty claim from a frustrating back-and-forth, and it’s why we walk every Aventura project through a final checklist with the homeowner before the 730-Day Done Right Promise period even starts.
Common Mistakes to Avoid
- Recaulking over old caulk without full removal. The new bead will fail faster than the old one did. Strip it to the joint, clean, and reapply – every time.
- Assuming a ceiling stain is “just a vent.” In an Aventura condo with a bathroom above another unit, a ceiling stain is a waterproofing or drain issue until proven otherwise. Get it looked at immediately.
- Replacing a bath fan without fixing the duct. Upgrading the fan but keeping the same foil accordion run and attic termination just moves the moisture problem to a bigger motor.
- Cash-settling a tile issue before you have a diagnosis. Once you accept a small check for “the cracked tile,” you’ve often closed the door on the full repair. Document and inspect first.
- Skipping the 30-day inspection. The single most useful inspection is the early one. A 90-day walk is better than none, but an issue caught at 30 that reoccurs at 90 is much easier to prove.
- Assuming a low-pressure shower is a plumbing emergency. Most cases are cartridge debris or a half-closed angle stop. Check those two things before anyone opens a wall.
- Choosing a contractor on price alone for the next repair. A cheap regrout over a moving floor becomes a full tile tear-out within 2 years. The upfront pricing on a proper repair is what saves money here.
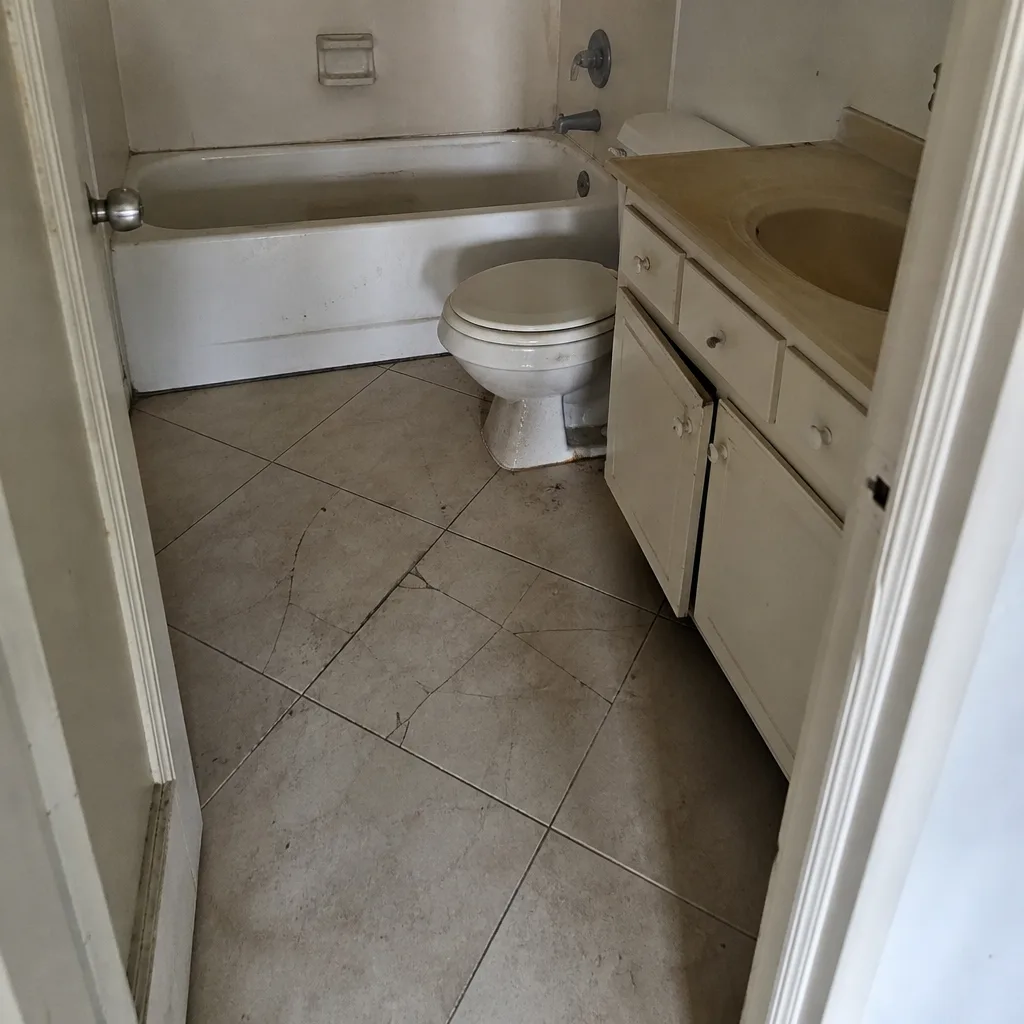
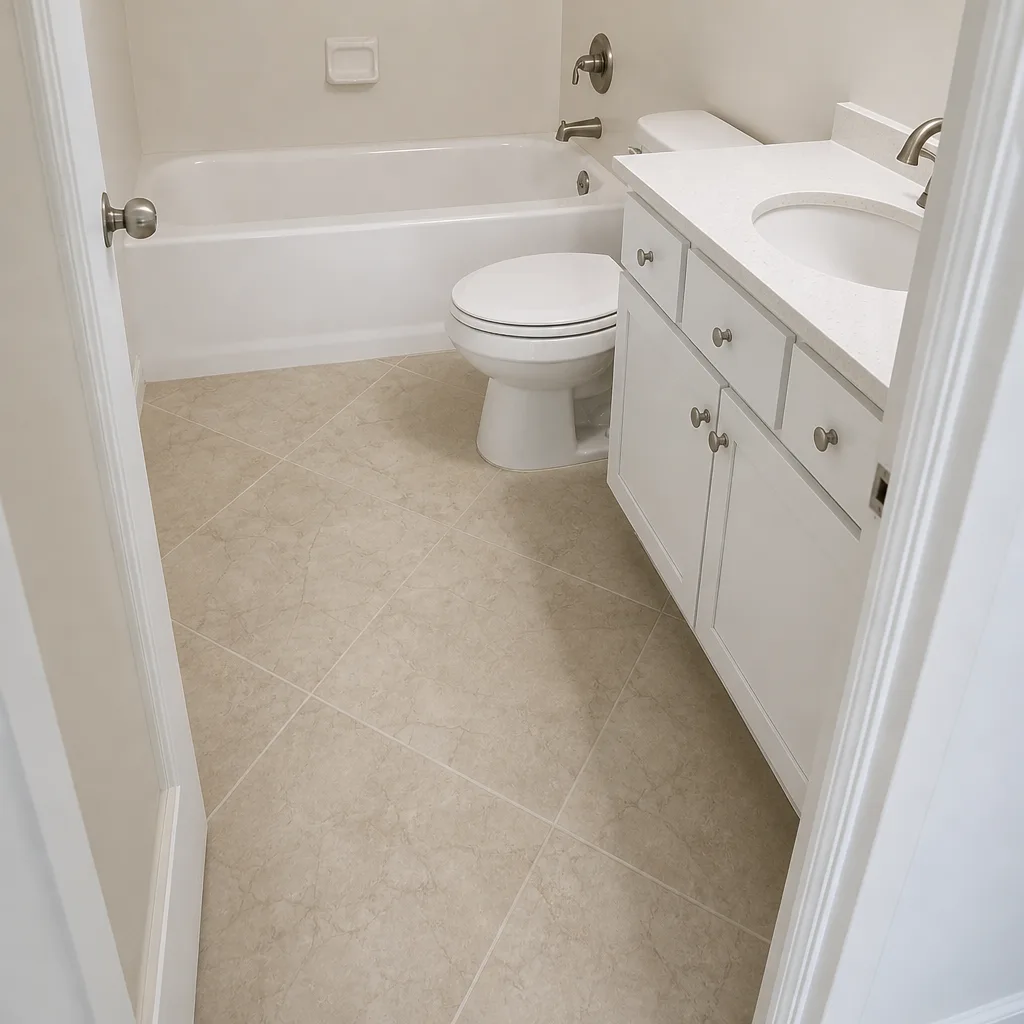
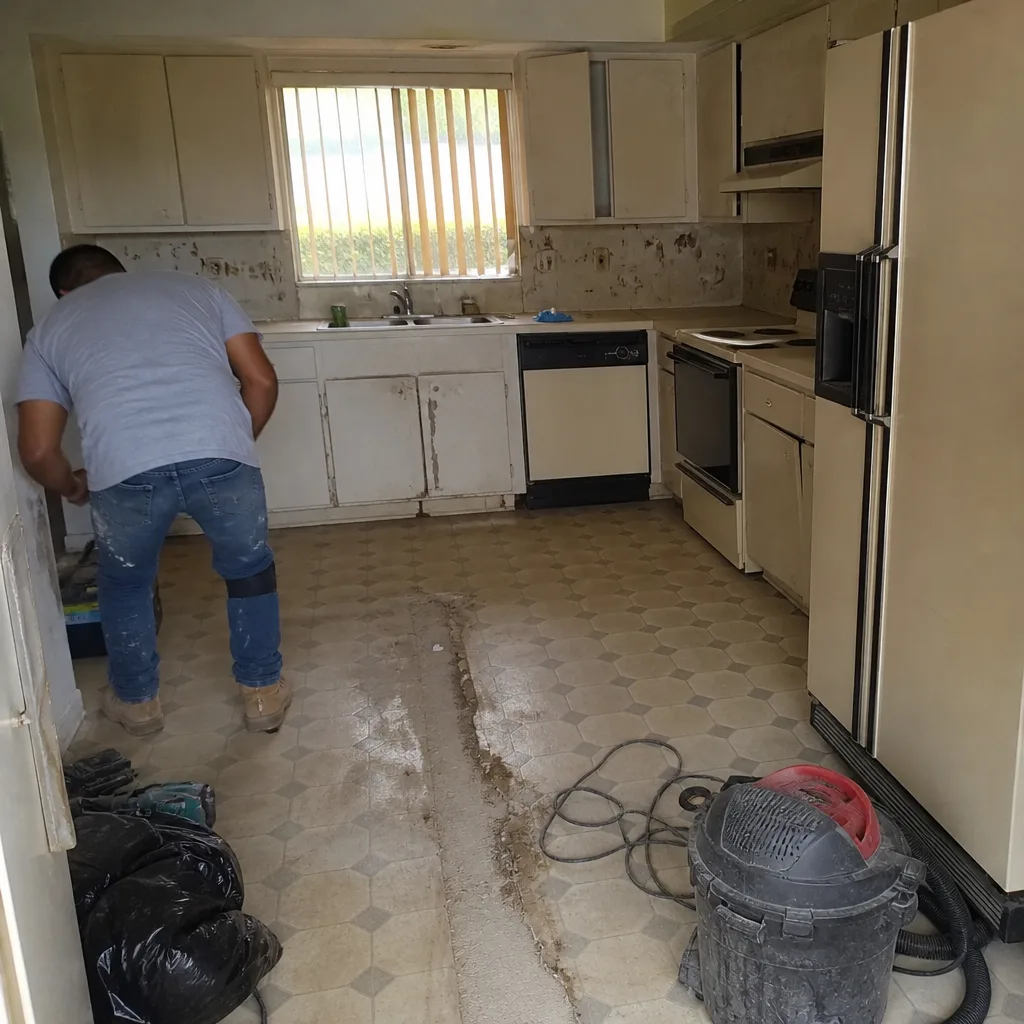
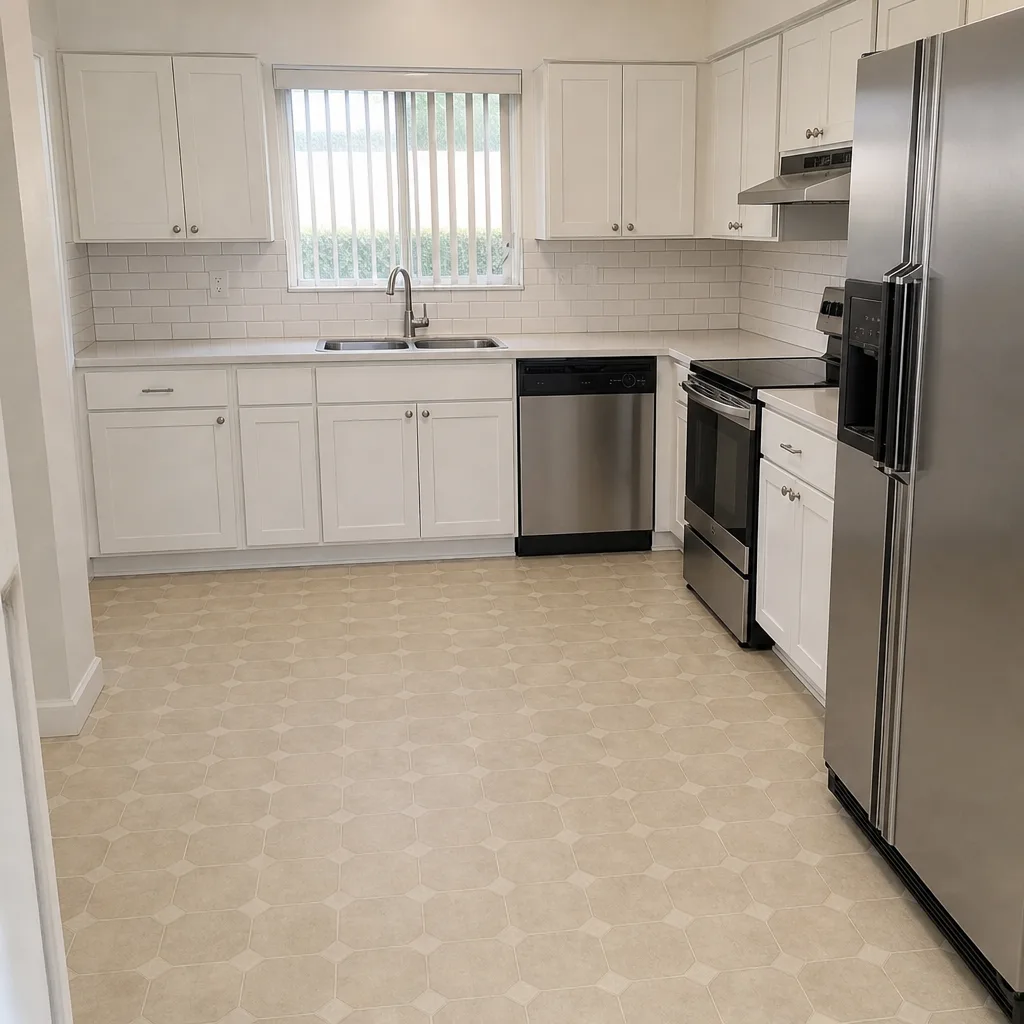
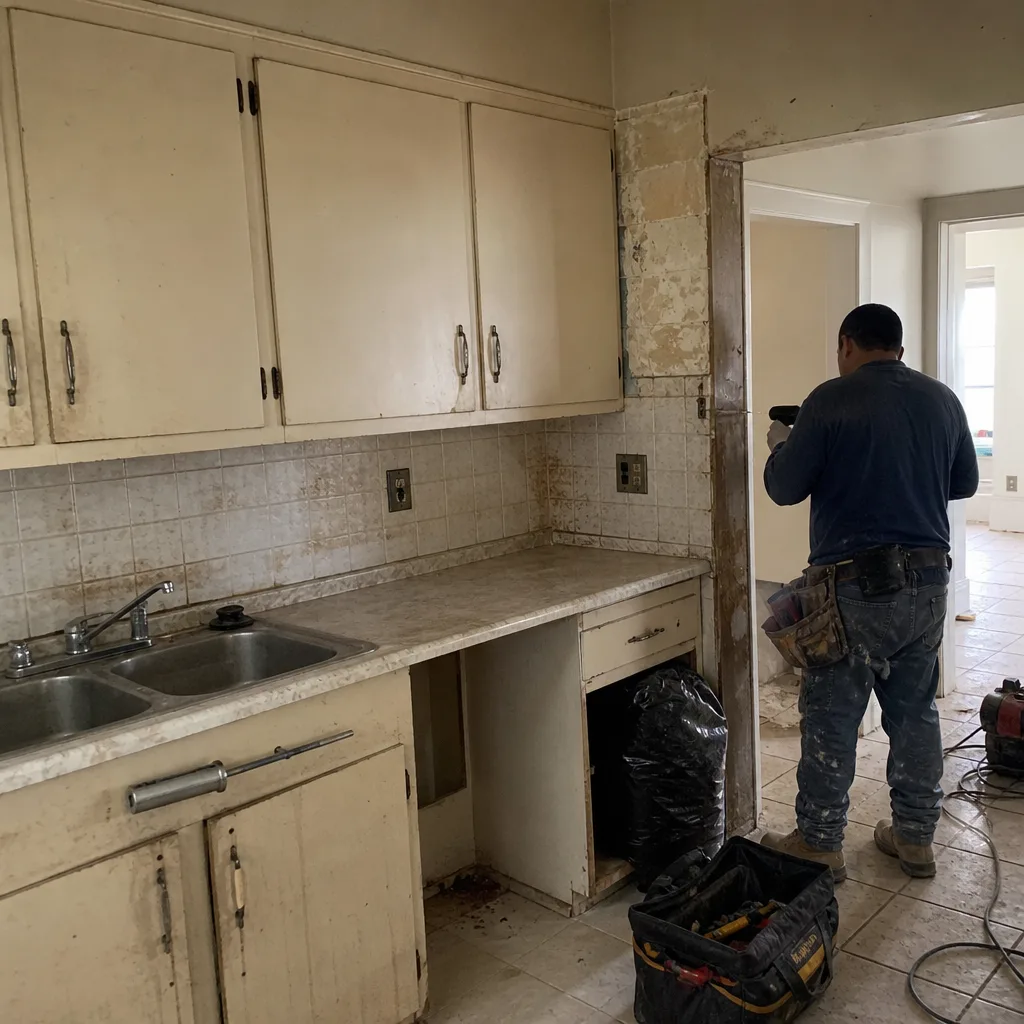
See the difference
 Before
 After
 Before
 After
 Before
 After
When to Call a Professional
Call a professional when the leak is behind the tile or in the wall, when a waterproofing membrane is suspect, when mold reappears within days of cleaning, or when a ground-floor or neighbor-adjacent ceiling is showing moisture. Don’t try to diagnose a shower pan or a drain connection with caulk and hope – the water damage compounds under a floor you can’t see, and it’s the exact scenario that turns a $400 fix into a $6,000 rebuild. A low-pressure shower is a judgement call, but if you’ve checked the angle stops and cleared the cartridge and the pressure is still weak, that’s a plumbing conversation, not a tile one.
For anything behind a wall or under a floor in Aventura, get a professional on site with a written scope. Groundwork Construction Co. of Aventura offers free estimates in Aventura – call (833) 716-6251 to schedule yours and get a straight read on whether the failure is a warranty fix, a repair, or a rebuild.
Frequently Asked Questions
Subfloor deflection is the most common cause – the floor moves more than the grout and tile can absorb, so the grout cracks at the joints. In Aventura, this shows up most often in second-floor bathrooms over wood framing, especially where the subfloor wasn’t stiffened to the tile manufacturer’s deflection standard. Missing movement joints at the room perimeter and at plane changes cause the rest of the cracks. If the tile also sounds hollow when tapped, the substrate has an adhesion problem, not just a grout problem.
The shower pan and the drain connection are tested separately. Plug the drain, run 1 inch of water into the pan, and leave it 8 hours. If the water level drops or a new stain appears on the ceiling below, the waterproofing membrane has failed. If the pan test is clean but a ceiling stain appears when a bucket of water is poured directly down the open drain, the drain connection or gasket is the culprit. A clean pan test plus a clean drain test but moisture while the shower runs points to a fixture or supply line inside the wall.
Usually yes on the workmanship side, and it depends on the source. A tile that lip-tents or hollows out with no impact is a workmanship issue and should be covered by the installation warranty. A chip at a corner from a dropped object is homeowner damage, not a warrantable defect. The installation workmanship warranty is what governs here – a standard one-year warranty covers the first 12 months, and a longer workmanship warranty covers you well past that point.
The duct routing is the usual answer. Bath fans that run but don’t clear the mirror are almost always ducted in flexible accordion hose with multiple bends, terminated in the attic, or terminated in a soffit rather than outside. Any of those cuts airflow or recycles moist air into the ceiling assembly. The fix is a smooth rigid or semi-rigid duct, the shortest run possible, and a proper outdoor termination with a backdraft damper. In Aventura’s humidity, an attic termination also condenses moisture over time and eventually causes a ceiling stain.
It depends on where the mold is. Surface mold along the caulk line and within a few inches of a wet joint is a cleaning and ventilation problem – not a demolition. Mold on the backer board behind the tile, a musty smell that returns within days of cleaning, or hollow-sounding tiles around the affected area means the waterproofing membrane has failed and that section of the shower comes out. Get a second opinion from a contractor who didn’t build the shower so the diagnosis is neutral, then decide whether to pursue a warranty claim with the original installer.
Do the first walk at 30 days, then again at 60 and 90. The 30-day inspection catches most workmanship issues while they’re still clearly inside the warranty, and the 90-day walk gives you a change-over-time comparison that’s difficult for a contractor to dismiss. Photograph every finding with a date in frame, and send a single documented email at the 90-day mark with all of it. The record you build during that window is what makes a warranty claim straightforward later.
The Bottom Line
The bathroom remodeling problems that cost the most are the ones you can’t see during the project walkthrough. Grout cracking is a substrate signal. Caulk failing early is a prep problem. Low pressure is a supply or fixture issue before it’s ever a wall issue. Fan noise and mirror fog are duct routing. Leaks are one of four categories and are diagnosed by elimination, not by guesswork. The 90-day inspection window is your best warranty coverage while it’s still clearly the contractor’s responsibility, and mold behind the tile is the one problem worth a neutral second opinion before you call anyone who touched the original job. Catch those five things early and the bathroom you paid for holds up the way it should.
If any of it turns out to be a warranty or rebuild question, call Groundwork Construction Co. of Aventura at (833) 716-6251 for a free estimate and a straight answer on what’s actually behind the tile.
For the full scope of what we handle across Aventura homes, start at the Groundwork Construction Co. of Aventura home page. Related services in our Aventura market include Driveway & Pavers in Aventura, Fence Installation in Aventura, and Home Additions & ADU in Aventura for homeowners planning the next phase of exterior and structural work alongside their bathroom project.
Written by the team at Groundwork Construction Co. of Aventura.