Last updated November 18, 2026


Free written scope consultation - allowances, timeline, and change-order rules on paper before a single trade is scheduled
DIY vs Professional Fence Installation: What’s Safe to Do Yourself
Attaching fence panels is easy. Setting posts in South Florida’s sandy, water-table-sensitive soil so they don’t lean within two years is a different skill set entirely, and one that’s hard to fake with YouTube tutorials. We’ve pulled plenty of fences in Aventura where the panels still looked fine but every post was swimming in a soupy footing that never cured right. The problem was never the part you can see. It was everything underground. This guide breaks down exactly which fence tasks a careful homeowner can handle, which ones will cost you real money if you get them wrong, and how Florida permits, inspections, and HOA rules change the math.
Quick Answer
You can safely handle fence panel replacement, hardware swaps, painting or staining, and minor repairs on posts that are already solid and properly footed. You should not dig and set new posts yourself, especially in Aventura, where sandy soil, a high water table, and no frost-line equivalent mean footing depth and drainage determine whether a fence stands or leans. Anything requiring a permit or an HOA inspection is also better left to a licensed installer who knows the local requirements.
Styles & brands we work with
- Kitchen remodeling
- Bathroom remodeling
- Home additions & ADU
- Roofing
- Windows & doors
- Driveway & pavers
- Fence
Table of Contents
- What’s Actually Safe to Do Yourself
- Why Post Depth and Footings Decide Everything in South Florida
- Florida Fence Permits: When You Need One and What Happens Without It
- The Real DIY Cost Equation
- HOA-Approved Materials and Installation Standards in Aventura
- A Step-by-Step Safe DIY Repair Plan
- What a Professional Install Actually Includes
- Common Mistakes to Avoid
- When to Call a Professional
- Frequently Asked Questions
What’s Actually Safe to Do Yourself
Plenty of fence work is genuinely within reach for a homeowner with basic tools and some patience. The line to watch is anything that involves new structural footings or moving a fence line. If the posts are already sound and the work is cosmetic or functional, you’re fine. If you’re digging, mixing concrete, and setting new posts into Aventura soil, that’s where DIY goes wrong fast.
Here’s the short list of what we’d tell a neighbor they can safely tackle on a Saturday afternoon:
- Panel replacement – Swapping a single cracked or rotted picket or full panel between two healthy posts is a reasonable DIY job. On a wood privacy fence, you remove the fasteners, slide out the damaged board, and set the replacement. On a vinyl or composite fence, the panels typically snap or slide into the rails. All of it depends on the posts being solid.
- Hardware swaps – Replacing hinges, latches, gate handles, drop rods, and self-closing springs on gates is straightforward. Inspect the gate frame for rust and rot first, because a new latch on a failing frame won’t fix the sag.
- Painting and staining – Wood fences need refinishing every two to four years in South Florida’s humidity. Pressure wash, let it dry thoroughly (48 to 72 hours in the wet season), then apply a quality stain or paint. This is one of the highest-value DIY tasks on the property because it dramatically extends fence life.
- Minor repairs on sound footings – Tightening loose rail brackets, re-nailing popped pickets, replacing a single rotted rail, reseating a gate that’s dragging. If the post itself is moving, though, you’re no longer in “safe DIY” territory.
- Washing and cleaning – Mold and mildew growth on vinyl and wood fences is a South Florida constant. A dilute bleach or oxygen-based cleaner applied with a pump sprayer and scrubbed with a soft brush removes it safely.
- Landscaping around the fence line – Trimming vines, clearing debris, fixing erosion at the base of a fence. All fine. This is also a good chance to check for rot or rust at the bottom of each post, which is where damage shows first.
Notice what’s not on the list: setting new posts, moving a fence line, installing a gate with new footings, or building a fence from scratch. Those all push past the point where a homeowner can verify the work is actually correct. When it comes to a full fence build in Aventura, our Fence Installation in Aventura team regularly sees the results of a DIY install that looked great at month one and started leaning by month fourteen.
Why Post Depth and Footings Decide Everything in South Florida
If you take one thing away from this guide, it’s this: a fence is only as good as what holds it up, and what holds it up is invisible once the dirt goes back in. Everywhere else in the country, fence contractors talk about frost depth. In Aventura, there is no frost line. That single fact changes the entire engineering calculation, and it’s the number one reason DIY fence installs here fail.
In cold climates, footings are dug below the frost line so that when the ground freezes and expands, it pushes against soil that’s already below the freeze point. That’s the reason you see recommended post depths of 36 to 48 inches in cold regions. In South Florida, the ground never freezes, so a shallower hole is technically “below frost depth” at 12 inches. The problem is, frost depth isn’t the design driver here. Water is.
What South Florida soil actually does to a post
Aventura sits on oolitic limestone covered by sandy, permeable soil, and the water table can sit as shallow as a couple of feet depending on the season. During the wet season (roughly May through October), we regularly see standing groundwater in post holes within 18 inches of the surface in low-lying parts of the city and along the edges of the Intracoastal-side neighborhoods. That creates three failure modes:
- Concrete that never cures properly. Standard concrete needs to stay above water while curing. If you pour a bag of quick-set into a hole that’s actively seeping groundwater, the mix washes out, the concrete crumbles, and the post has nothing but wet sand holding it upright.
- Hydrostatic pressure. When the water table rises, saturated soil pushes outward against the buried portion of the post. Over several wet seasons, a post without proper footing size and depth starts to lever back and forth, and that motion opens a gap where water goes in faster next time.
- Uplift and heave. A shallow post with a small concrete collar can actually lift in saturated soil, especially with a heavy wood privacy fence catching wind load. Once a post lifts, the fence line goes out of level and every panel above it sags.
So what’s the right depth and footing in Aventura?
There’s no single number that works for every lot in Aventura. It depends on soil conditions on your specific property, the fence material, whether it’s a privacy fence catching wind, and whether the local code has a specific depth requirement for your zoning. A competent installer evaluates each post location and uses a footing sized to the load. What we can tell you is that a 12-inch hole with one bag of quick-set is not enough for a privacy fence in this soil, and that’s the exact recipe we see in most failed DIY installs.
Our technicians have up to 12 years of experience setting fences in South Florida soil, and the difference between a fence that stands for a decade and one that leans in two years comes down to how the footing was built, not how the fence looks on day one. This is why we treat footings as the foundation of the job, the same way we treat a slab or a footing wall on a larger build. If you’re planning a full property improvement, our Groundwork Construction Co. of Aventura home page outlines how we handle the structure side of a project.
Florida Fence Permits: When You Need One and What Happens Without It
Most homeowners assume a fence doesn’t need a permit. In many Florida jurisdictions, that’s often true for a low hedge or a small decorative fence, but it is not a blanket rule, and Aventura has its own municipal requirements that depend on fence height, location on the lot, and material. A fence over a certain height, a fence on a corner or through a setback, or a fence in an area governed by a homeowners association can require a permit and an inspection. Getting the answer from the city is a five-minute call before you dig, and skipping it is where DIY goes sideways.
Where a permit typically comes into play
- Fences above a set height (the threshold varies by jurisdiction, so confirm with the city before buying materials)
- Fences on a corner lot or in a sight-triangle area where visibility matters for traffic safety
- Fences in or near a setback, drainage easement, or right-of-way
- Fences around pools, which are frequently covered by separate pool safety code
- Fences on a property in a designated flood zone, which includes parts of Aventura
What happens when unpermitted fence work is discovered
Two things, and neither is fun. The first is at inspection time, during a routine code review or a neighbor complaint. The city can require the fence to be brought into compliance or removed, and if the fence doesn’t meet a code requirement, “brought into compliance” usually means rebuilding it. The second, and this is the one that catches people off guard, is at the time of sale. When a title company and buyer’s inspector review the property, unpermitted structures, including fences, surface during the permit history check. The seller typically has to either obtain retroactive permits (which may require opening up the fence line to prove footing depth), remove the fence, or credit the buyer. That’s a problem you don’t want a year or two after you paid for the fence.
The permit-inspection loop a pro follows
- Check zoning and HOA rules before design. The fence has to be compliant with both, so the design comes after the rules.
- Apply for the permit if the fence triggers the threshold. This is paperwork, but it’s paperwork that has to be right the first time.
- Install to code, including footing depth. The inspector may ask to see the footings before backfill, which is why we don’t backfill until we’re certain the work will pass.
- Pass the inspection. Once it passes, the permit closes out clean and the fence is legal on record.
- Keep the paperwork. A compliant fence with a permit history is worth more at resale and simpler at inspection.
Our fence crews run this loop regularly in Aventura. Pulling permits and passing inspections is part of the job, not an add-on, and it’s one of the reasons our installation work is covered by the 730-Day Done Right Promise. If you’d rather not manage the permit process yourself, our team can handle it end to end.
The Real DIY Cost Equation
The DIY cost conversation usually stops at materials, and materials are the least of it. The real number includes tool rental, concrete, safety gear, permit fees, and the cost of your time, and then it needs to be weighed against a professional quote that includes labor, footings, cleanup, and a written workmanship guarantee. When you run the full equation, a lot of DIY fence installs come out closer to the professional quote than people expect, and the professional version comes with a warranty.
Line-item cost breakdown: DIY vs professional in Aventura
These are current ballpark ranges for a typical residential privacy fence in the Aventura area. Actual cost depends on fence length, material, height, layout, and site access.
| Line Item | DIY Range | Professional (Turnkey) Range |
|---|---|---|
| Fence materials (panels, rails, pickets, gates) | $25-$60 per linear foot for wood, more for composite/vinyl | Included in quote |
| Posts, concrete, hardware | $8-$15 per post for concrete, hardware separate | Included in quote |
| Post driver or post-hole digger rental | $40-$90 per day | Included in labor |
| Concrete mixing tub, wheelbarrow, tamper | $75-$150 (buy) or rental | Included in labor |
| Safety equipment (gloves, eye protection, dust mask) | $40-$80 | Included in labor |
| Permit fee (if required) | $50-$250 depending on jurisdiction and fence length | Handled by us |
| Dumpster or debris removal | $250-$500 | Included in quote |
| Labor (yours, uninsured) | Weekend to several weekends of work | Included in quote |
| Warranty on workmanship | None | 730-Day Done Right Promise |
Run those numbers and a straightforward 100-linear-foot DIY wood privacy fence typically lands in the $4,500 to $7,500 range once you count materials, rental, disposal, and the permit, with zero warranty and a full weekend-plus of your time. A professional install in Aventura for the same fence, with proper footings and a written guarantee, typically comes in a bit higher up front, and includes the parts that determine whether the fence is still standing in five years. The gap closes further when you factor in our $1,000 off projects over $10,000 and 0% financing for 18 months, both of which make the professional path easier to budget.
One thing worth separating: the DIY afternoon jobs like panel swaps, staining, and hardware replacement have an excellent cost-to-value ratio. The DIY new-build jobs almost never do. Upfront pricing with no surprises is one of the things our customers tell us mattered most, because a written quote you can compare against your own math is the only honest way to make the decision. If your fence is part of a bigger driveway or hardscape project, our Driveway & Pavers in Aventura team can scope both in one estimate.
HOA-Approved Materials and Installation Standards in Aventura
Aventura is a heavily HOA-governed city, and that reality changes how a DIY fence project can play out. Many HOAs in Aventura and the surrounding neighborhoods have architectural review requirements that specify approved materials, colors, fence height, style, and sometimes even post spacing or the exact finish. A fence that meets the city code but not the HOA’s architectural standard can be ordered removed, and the cost of that removal lands on the homeowner, not the contractor who built it. This is the single fastest way to turn a fence project into a loss.
What Aventura HOAs commonly require
- Prior written approval from the architectural review committee before any fence work starts
- Specific approved materials and colors (a specific composite or vinyl finish, or a specific wood stain)
- Maximum height, often lower than the city code permits
- Style requirements (for example, picket, shadowbox, flat-top, or board-on-board)
- Setback from the property line and sometimes landscape screening between fence sections
- Post spacing and footing standards that must be met by the installer
When the HOA requires removal of non-compliant work, there’s no appeal based on cost. The fence comes down. That’s why the approval process has to happen before materials are purchased, and it’s also why so many Aventura homeowners who intended to DIY end up calling in an installer once they see the specification sheet. Our crews do this every week in Aventura, and we’re used to working from an HOA spec sheet, not a rough sketch.
On the materials side, we work with a curated set of brand partners across every category. For fences, composite and vinyl options from James Hardie and finish-grade wood from the same partners we spec on our exteriors are what hold up best in Aventura’s salt air and humidity, and they’re the materials most HOAs here already have approved. When you choose a product an HOA already knows, the approval usually moves faster. It’s a small detail that saves weeks.
A Step-by-Step Safe DIY Repair Plan
If you’re tackling one of the safe DIY jobs, here’s a clean sequence that avoids the mistakes we see most often. This plan is for repairs and cosmetic work on an existing fence with sound footing, not for a new install.
- Walk the line and test every post. Push each post side-to-side with your hand. If there’s more than a small amount of flex, that post’s footing is failing and this specific job goes to a pro. On wood, probe the base of each post with a screwdriver; soft wood means rot is already inside.
- Photograph and measure. Take clear photos of the damage and write down the panel or picket dimensions, rail spacing, and hardware model numbers. Most replacement panels are not universal, and getting the exact match makes the repair invisible.
- Order the correct materials. For composite and vinyl, order replacement parts from the original manufacturer if the fence is still under product warranty. For wood, match the species and profile; pressure-treated pine and cedar age differently and will show.
- Set up for safety. Gloves, eye protection, hearing protection if you’re using a saw or driver, and a spotter if you’re working near the property line. Never cut or power-drive toward yourself, and keep power tools away from wet ground.
- Remove the damaged piece carefully. On panel systems, this usually means unbolting or unscrewing the rails and sliding the panel out. Don’t pry against the post or you’ll weaken the footing you’re trying to preserve.
- Install the replacement. Reuse the original fasteners where they’re sound, replace anything rusty with stainless in coastal Aventura to stay ahead of corrosion. Check the fence line is straight from both sides before you fully tighten.
- Refinish if applicable. On wood, apply a fresh coat of exterior stain or paint on the replacement piece to match the rest of the fence, and spot-prime any cut ends before installing.
- Recheck in 30 days. If the new piece shifts, contracts, or moves after the first month, that’s a sign something else is failing and you should have it looked at.
If you get to step one and two or more posts flex, stop. That’s a footing problem, and footing problems don’t get better on their own.
What a Professional Install Actually Includes
A professional fence install in Aventura starts well before the first shovel hits dirt and ends well after the last post is capped. The big difference between a solid professional job and a DIY one is the invisible work: site assessment, footing design, code and HOA compliance, cleanup, and the workmanship guarantee that means the next problem is ours to fix, not yours. If you want to compare apples to apples when you price the DIY route against a quote, here’s what should actually be in the professional number.
- Site assessment. We check soil conditions, water table behavior on your lot, drainage, property line accuracy, and access. This is where footing depth and layout are decided.
- Compliance. HOA approval, city permit if required, and layout within the property line and setbacks. All done before materials are ordered.
- Footing work. Appropriate hole depth, footing size, and mix for your soil and fence material. We don’t backfill until we’re certain the footing is right.
- Installation. Posts, rails, panels, gates, hardware, all set to spec, with attention to gate operation and level lines.
- Final cleanup. Old fence removal, debris haul-away, and site restoration. Your yard doesn’t stay torn up.
- Walkthrough and warranty. We walk the fence with you, point out the gates and the maintenance touchpoints, and hand over the written coverage under the 730-Day Done Right Promise.
Alongside the guarantee, the reason homeowners pick a professional install over their own weekend is that our technicians are background-checked and arrive in uniform, on schedule, with a clear plan. If something needs to change mid-job, we talk to you before we cut. For larger property upgrades that include the fence alongside other exterior work, our Home Additions & ADU in Aventura team can scope the whole project under one contract, which often matters more than the fence itself at the permitting stage.
Common Mistakes to Avoid
- Digging holes too shallow in Aventura’s sandy soil. A 12-inch hole holds a decorative mailbox, not a privacy fence. The footing has to reach past the root zone of seasonal soil movement, and it has to drain.
- Using quick-set concrete in a hole that’s actively seeping groundwater. Wet-season water table rises are common in parts of Aventura near the Intracoastal and in lower-lying neighborhoods, and quick-set mixed into standing water crumbles. There are specific mixes for wet conditions, and a competent installer knows when to reach for them.
- Skipping the HOA architectural approval. A fence that doesn’t meet the HOA spec is subject to removal at the homeowner’s expense, regardless of city code. Most Aventura HOAs require written approval before any work starts.
- Assuming a permit isn’t needed because it’s “just a fence.” Get the answer from the city for your specific lot. Unpermitted fence work surfaces at resale and can delay a closing or force a rebuild.
- Building on top of an old footing that’s already failing. If a post is leaning, the footing is the problem, and setting a new post in the same hole solves nothing. We see this constantly on DIY repair attempts.
- Using the wrong fasteners on a coastal property. Aventura sits close enough to salt air that standard galvanized hardware corrodes much faster than stainless. Every metal component in the fence should be chosen with that in mind.
- Ignoring wind load. A solid wood privacy fence acts like a sail in a tropical storm. Post spacing, footing size, and the fence material all have to work together to survive a strong storm season, and a fence built without that in mind is a liability.
When to Call a Professional
Call a professional for any new fence install, any post replacement, any job that changes the fence line, and any project that triggers a permit or an HOA architectural review. Also call if you’ve checked a post and it flexes, if the fence is more than a few degrees out of plumb, or if you’re building around a pool where pool safety code applies. Those are all footing or code problems, and they don’t get solved by better panels. The rest of the list, panels, hardware, stain, minor rot, is safe to handle yourself. For a fence in Aventura, our team offers a free project estimate and design consult, and the number to call is (833) 716-6251. If you’d like to see the full range of what we do first, browse the fence installation services in Aventura and we’ll take it from there.
Frequently Asked Questions
You can install a fence yourself in Aventura if you have the right equipment and understand the local soil, water table, permit, and HOA requirements, but most homeowners should not. The post-setting and footing work is the part that fails, and in Aventura, sandy soil and a shallow water table make a typical DIY footing far more likely to fail than in other parts of the country. Panel replacement, staining, and hardware swaps are the safe DIY range.
It depends on the fence height, location on the lot, and material, so you need to confirm with the city for your specific property. Some fences in Aventura require a permit and inspection, and some don’t. Building without a permit when one is required creates a real problem at resale, and pulling the permit after the fact can require opening up the fence to verify footing. Call (833) 716-6251 if you’d rather we handle the permit question for you.
There’s no single depth that works for every Aventura lot because the governing factor is the water table and soil condition, not a frost line. In practice, 2 to 3 feet is a common starting range for a privacy fence in South Florida soil, but it needs to be sized to the fence and the site. What we can say is that a 12-inch hole is not enough, and this is the most common reason DIY fences fail here.
The cheapest safe option depends on whether you’re starting from scratch or repairing. If you have existing sound posts and just need a replacement panel, DIY is the cheapest path. For a new install, the cheapest option that stays standing is a properly installed fence with a warranty, because the DIY route can add 50-100% of the original price in repairs or replacement within a few years. Free estimates are available if you want to compare against your own DIY math, and the 0% financing for 18 months helps with the upfront cost.
In Florida, fence installation generally falls under licensed contractor work when a permit is required, and it’s always safer to use a licensed and insured installer for footing and structural work. A handyman may be fine for repairs and cosmetic tasks, but new installs and anything requiring an inspection should be done by a licensed contractor. Our technicians have up to 12 years of experience in South Florida fence work, and our jobs are covered by the 730-Day Done Right Promise.
A typical residential privacy fence in Aventura takes one to three days on site for a professional crew, depending on length, material, and site access, once HOA and permit approvals are in hand. If a permit or HOA approval is required, add one to several weeks for that step before any digging starts. Get the approval done first; that’s the real timeline variable. Call (833) 716-6251 for a free estimate and a realistic schedule for your property.
See the difference
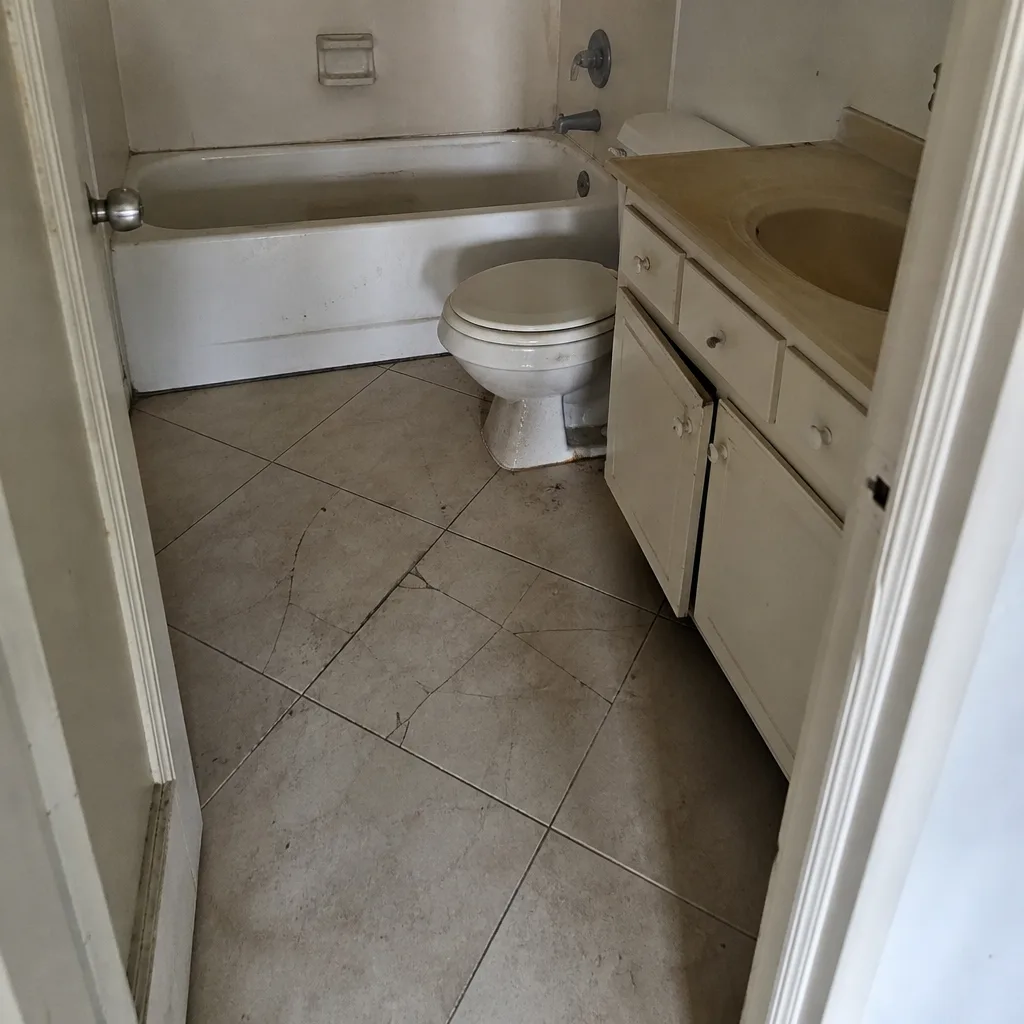 Before
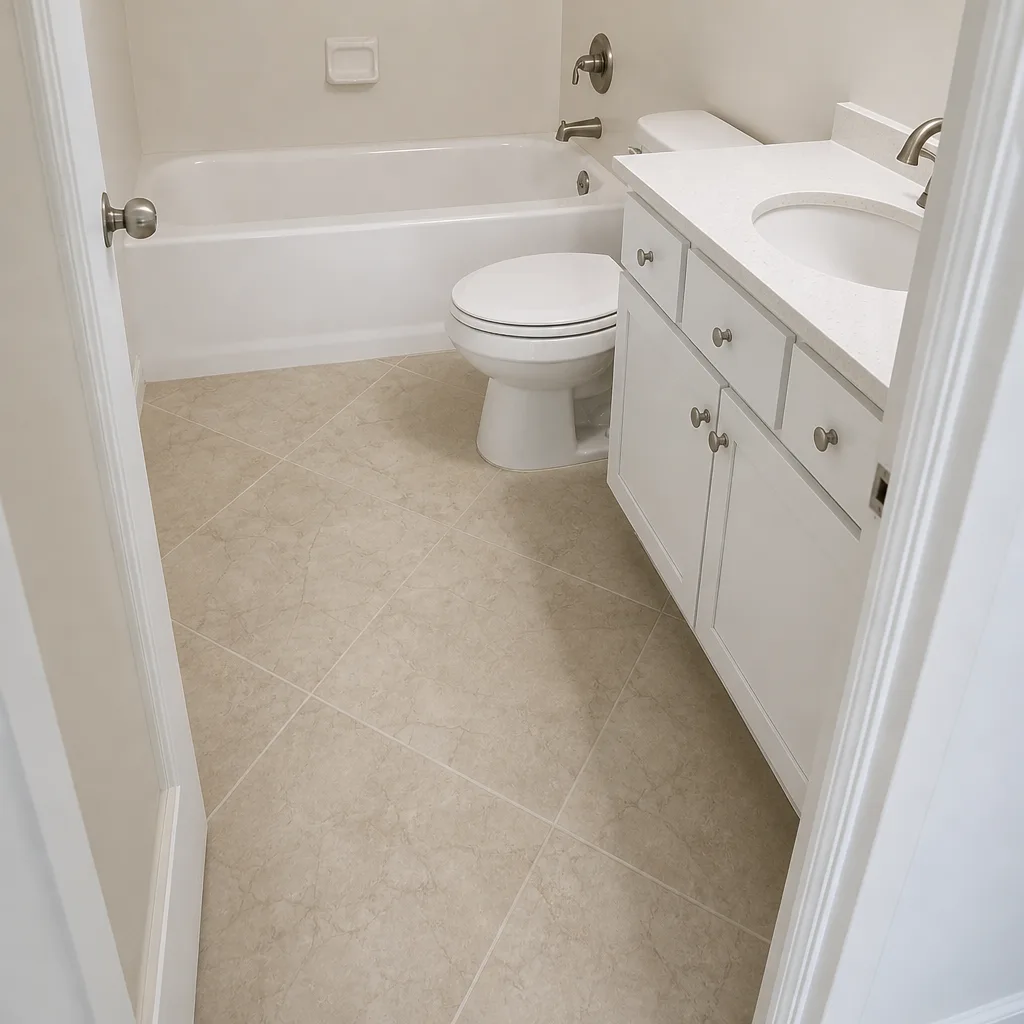 After
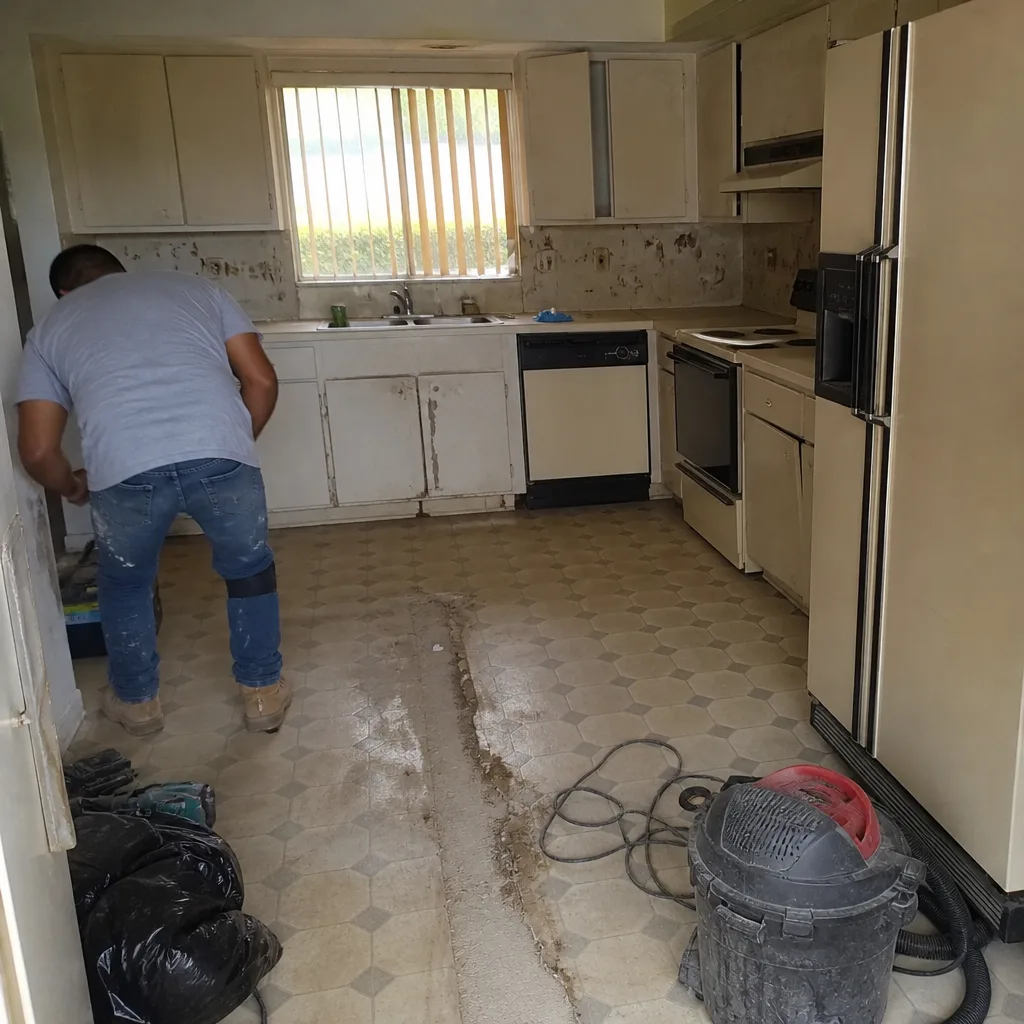 Before
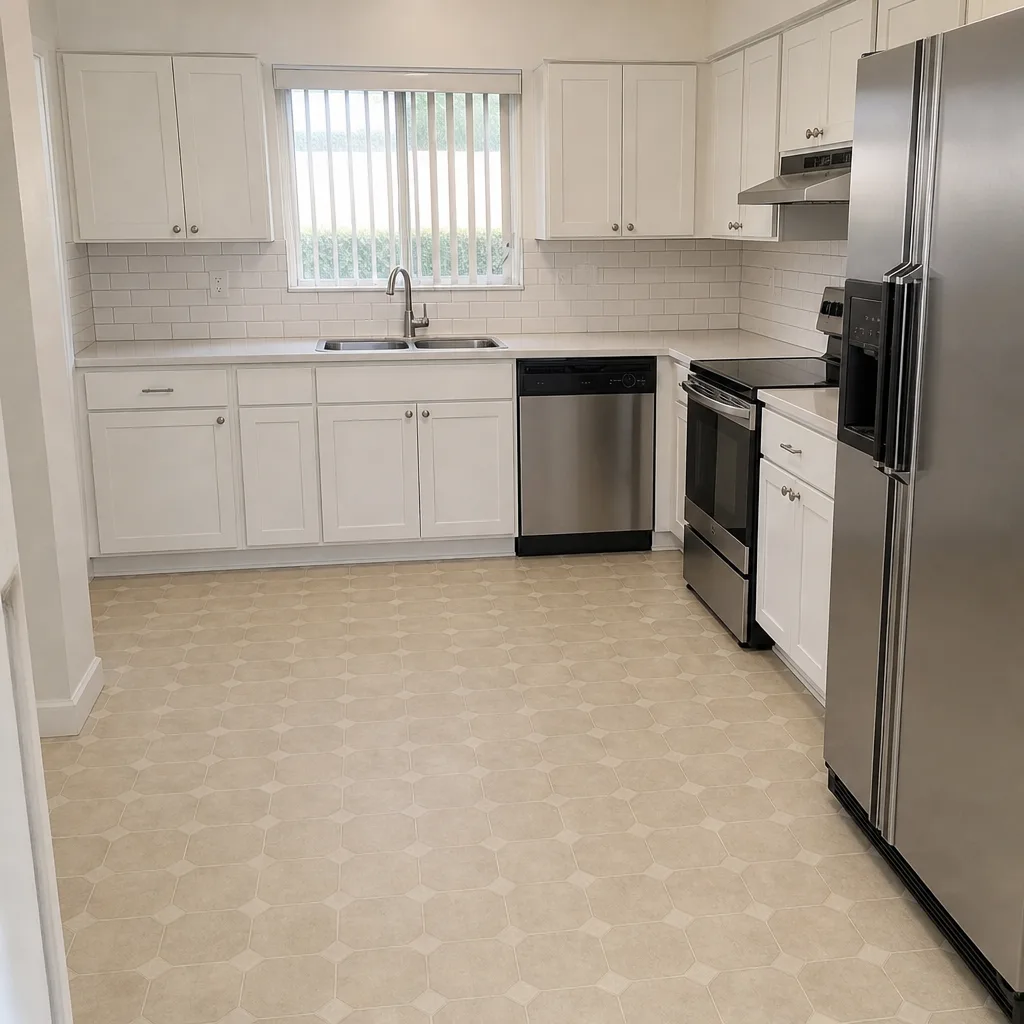 After
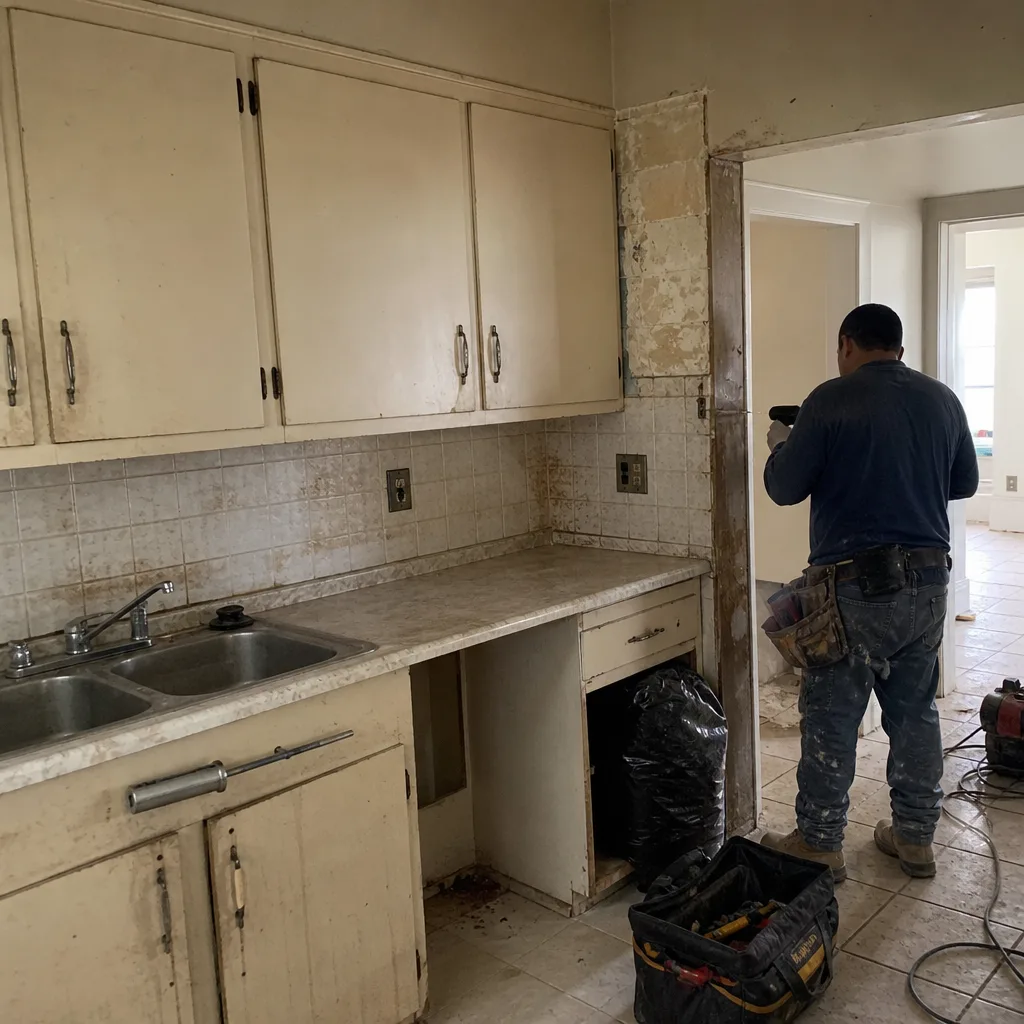 Before
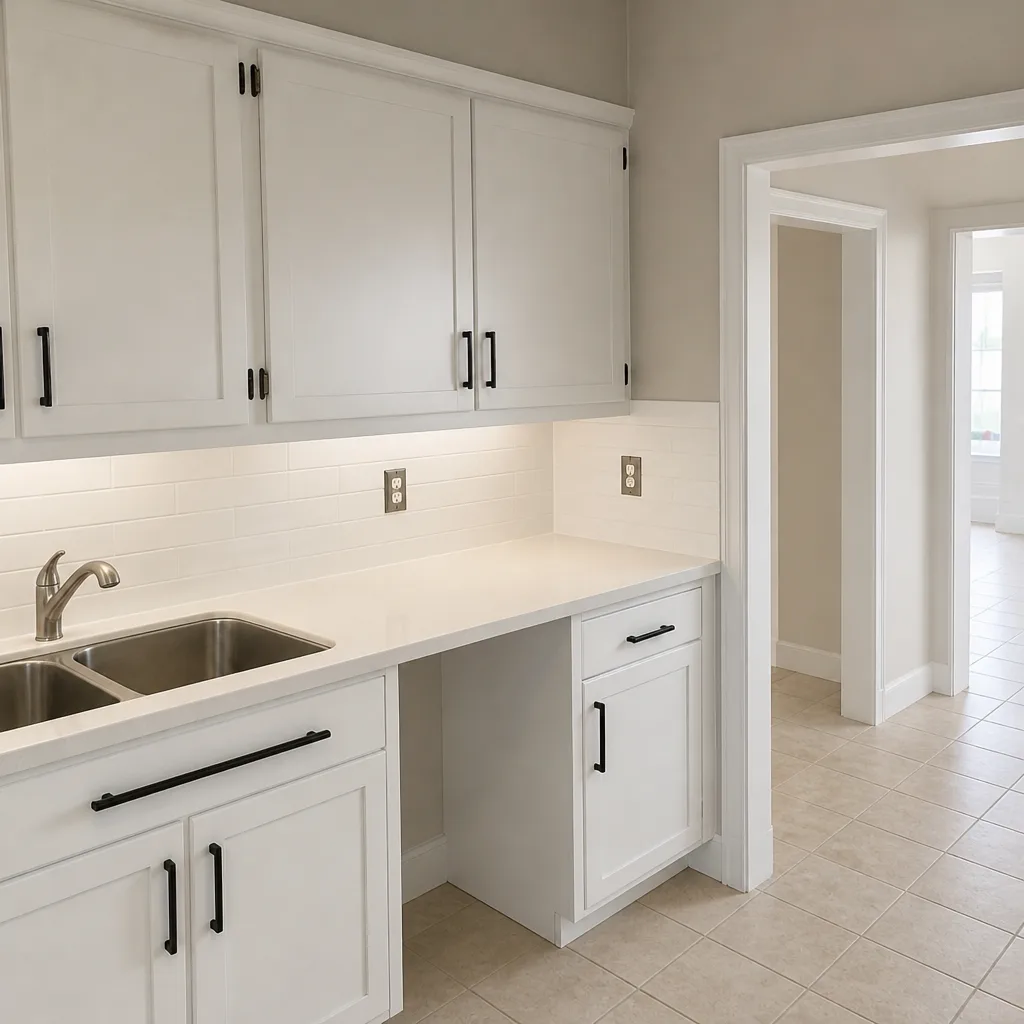 After
The Bottom Line
Repairing a panel, swapping a hinge, or staining your fence? Those are safe, sensible DIY jobs. Building a fence, setting posts, or moving a fence line in Aventura? That’s a footing problem wrapped in a fence, and South Florida’s sandy soil, shallow water table, HOA architectural rules, and city permit process make it a bad DIY bet. The math rarely works in DIY’s favor once you count tool rentals, disposal, permit fees, your time, and the absence of any warranty. A properly installed fence, backed by the 730-Day Done Right Promise and a free estimate, is the version that’s still standing a decade from now.
Get a Free Fence Estimate in Aventura
Call (833) 716-6251 to schedule your free estimate and design consult. Our team handles the site assessment, HOA and permit requirements, footing design, and cleanup, and we back the work with the 730-Day Done Right Promise. The number you see is the number you pay, and we offer 0% financing for 18 months plus $1,000 off projects over $10,000 to make a full yard improvement easier to budget for.
Written by the team at Groundwork Construction Co. of Aventura.