Last updated November 18, 2026

Free written scope consultation - allowances, timeline, and change-order rules on paper before a single trade is scheduled
Home Additions & ADU Troubleshooting: Common Problems and How to Fix Them
Here’s the complaint we hear most on addition and ADU projects, and it isn’t cost overruns or schedule slips. It’s discovering a problem after the drywall goes up – a foot of foundation that was never tied in, an inspection that could have caught it in an afternoon – that costs thousands to open back up. The painful part is that almost none of these problems start as construction problems. They start as communication failures that quietly turn into construction problems. This guide walks through the ones we see most in Aventura and South Florida, how to diagnose what actually went wrong, and how to fix it without tearing the whole project apart.
Quick Answer
Most home addition and ADU problems fall into five categories: foundation tie-in failures, HVAC systems sized for the old house instead of the new load, rough-in inspection failures, moisture intrusion at the new-to-old junction, and paperwork or communication breakdowns. The fix is usually a targeted repair plus a corrected scope document – not a rebuild. Catch them at the right inspection stage and most are preventable for a fraction of the remediation cost.
Styles & brands we work with
- Kitchen remodeling
- Bathroom remodeling
- Home additions & ADU
- Roofing
- Windows & doors
- Driveway & pavers
- Fence
Table of Contents
- Why Foundation Tie-In Failures Are the Most Expensive Problem
- The HVAC Sizing Mistake That Plagues Nearly Every Addition
- When Your ADU Fails Its Rough-In Inspection
- Moisture Intrusion at the New-to-Old Junction in South Florida
- Scope Creep, Change Orders, and the Paper Trail That Saves You
- The Inspection Schedule That Catches Problems Before Walls Close
- Your Escalation Path: Contractor, Inspector, or Attorney
Why Foundation Tie-In Failures Are the Most Expensive Problem
South Florida doesn’t have a freeze-thaw cycle, which is a small mercy. What it does have is a high water table and limestone that behaves very differently from the clay and packed fill in other parts of the country. When an addition isn’t mechanically tied into the existing foundation – actually steel-doweled and epoxied, not just poured against it – the two structures settle at different rates. Aventura homes on Biscayne soil, especially those built in the 1970s and 1980s in the Waterways and Golden Gate areas, tend to expose this within a couple of wet seasons.
What you’ll see first:
- Hairline cracks along the wall where the addition meets the original house, wider at the top than the bottom
- Doors in the new space that stick through the rainy season and free again in the dry months
- Tile or drywall cracks in a diagonal pattern radiating from a corner
- A visible seam in the slab you can catch with a fingernail
The way to catch this before the slab is poured is straightforward: require the plans to specify the tie-in detail (dowels, spacing, epoxy type, lap length) and get the special inspector on site during the pour. Miami-Dade and Broward require a threshold inspection on many additions, and that’s for good reason. If you’re seeing cracks after the fact, a structural engineer’s report is the first step, not a cosmetic patch. In our experience, cosmetic patching foundation tie-in failures is the single most reliable way to turn a $4,000 repair into a $40,000 one.
The HVAC Sizing Mistake That Plagues Nearly Every Addition
Adding 400 square feet to a house does not mean you need “a slightly bigger AC unit.” It means the whole system has to be recalculated from scratch. The mistake we see most often in Aventura and the surrounding South Florida market is a contractor who extends the existing ductwork into the addition and calls it done. That produces a new room that’s consistently three to five degrees warmer or colder than the rest of the house, no matter what you set the thermostat to.
Here’s what a proper HVAC approach looks like on an addition or ADU:
- Manual J load calculation on the combined structure – original house plus new square footage – not the addition in isolation.
- Manual S equipment selection so the tonnage matches the calculated load. Oversizing is just as bad as undersizing in Florida humidity; an oversized unit short-cycles and never removes moisture.
- Manual D duct design to verify the existing trunk can actually move the required CFM. Most 1990s-era duct systems cannot.
- Zoning or a dedicated mini-split if the addition has a different load profile (bonus room over a garage, garage conversion ADU, or a sunroom with west-facing glass).
- Manual T register selection so supply and return sizes deliver the designed airflow instead of whistling.
If your new room is uncomfortable and the contractor’s answer is “let’s just add another vent,” get a second opinion. Duct extensions without a load calc are the reason so many Aventura garage conversions and rear additions end up with a permanently running system and a dehumidifier in the corner.
When Your ADU Fails Its Rough-In Inspection
It happens. The first inspection comes back with a red tag, and the day has suddenly gone sideways. Rough-in failures are rarely catastrophic – they’re usually small, correctable, and a normal part of a complex project. What matters is how the failure gets handled.
The remediation sequence that actually works:
- Read the inspector’s notes line by line. Vague corrections from a subcontractor are useless. Get the comment verbatim, with the code section cited.
- Ask your contractor for a written response per line item – what they’re changing, who’s doing it, when it will be re-inspected. This is not an unreasonable request.
- Verify the fix, not the promise. Take photos before the corrected work is closed up. A licensed inspector can sign off on something half-corrected, and you’re the one who’s stuck with it.
- Schedule the re-inspection promptly. In Aventura and Miami-Dade, inspection scheduling delays are the single biggest driver of schedule slip on ADUs. A week lost in the queue becomes a month of lost trades.
- Document everything. Keep the failed inspection report in your project folder. If the issue was an installer error and not a design error, that document matters if you need to pursue a warranty claim in the future.
The most common rough-in failures in South Florida ADU work: electrical panel capacity and bonding, undersized plumbing vents, missed fire-blocking at floor/ceiling penetrations, and egress window dimensions. Ask your contractor what their track record looks like on each of these before framing begins.
Moisture Intrusion at the New-to-Old Junction in South Florida
If there’s one problem that defines South Florida additions, it’s water. Between the June-through-October rainy season, the occasional tropical system, and the relentless humidity that sits on the coast for months, the junction where new structure meets old is the single most vulnerable point on the entire house. A bad flashing detail that would eventually fail in a drier climate fails in one season here.
The corrective sequence – the one that actually works – looks like this:
- Investigate before you rebuild. A moisture meter and thermal camera check at the ceiling and wall junction tells you whether the intrusion is coming from the roof tie-in, the wall flashing, or a window intersection.
- Remove the siding or finish back to sound substrate in the affected area. Don’t flash over a compromised substrate.
- Re-establish the water-resistive barrier correctly – house wrap or peel-and-stick membrane properly lapped so water always flows down and out, never behind.
- Install kick-out flashing at the roof-wall intersection. This is where most failures start.
- Flash the wall opening with metal head flashing, sill pan, and self-adhered membrane on the sides.
- Backer rod and sealant at the joint, correctly sized so the sealant works in tension and compression without tearing.
- Water test with a hose on the repaired detail before closing it back up. This is the step most contractors skip.
In Aventura specifically, stucco-over-CBS is the dominant wall assembly, and it hides more moisture problems than any other construction type we work with. If the interior side of the wall feels soft or reads moist through a meter, the stucco has failed and the repair is not cosmetic.
Scope Creep, Change Orders, and the Paper Trail That Saves You
The most common “construction problem” we get called about in Aventura turns out to be a paperwork problem. The homeowner thought something was included; the contractor thought it wasn’t. The only thing that determines who’s right is what was in writing at the start.
What a proper scope document should contain:
- Line-item pricing on every trade – not a single lump sum. Framing, foundation, MEP rough-in, insulation, drywall, finishes, each broken out with unit costs where possible.
- A named allowance for every selection (tile, fixtures, doors, windows), with the process for what happens if the homeowner’s selection exceeds the allowance.
- Explicit inclusions and exclusions – permits pulled, dumpsters, final clean, landscaping restoration, and site protection are all things homeowners assume are included and frequently are not.
- Payment schedule tied to milestones, not dates. “Progress payment on framing inspection passed” is enforceable; “payment on October 15” is not.
- Change order protocol – signed and dated before the change is executed, with a clear cost and schedule impact.
- Warranty terms in writing, with a stated duration and what is and is not covered.
If you’re planning an addition or ADU in Aventura and the contractor’s estimate is one page with a total on it, that’s the warning sign. Upfront pricing with no surprises is a written document, not a promise made over the phone.
The Inspection Schedule That Catches Problems Before Walls Close
The single most important habit on an addition or ADU is confirming every inspection happens on time and passes before framing is covered. Once drywall goes up, every problem underneath it goes from a $500 fix to a $5,000+ fix.
The inspection sequence on a typical South Florida addition or ADU:
- Site work and foundation inspection – forms, rebar, tie-in dowels, and slab prep, before any pour.
- Shell and framing inspection – studs, sheathing, headers, hurricane straps, and tie-downs. This is where the structure either passes or sets you up for trouble.
- Rough-in inspection – electrical, plumbing, and HVAC before insulation and drywall.
- Insulation and vapor barrier inspection.
- Drywall and finish inspection where required by jurisdiction.
- Final inspection – covers everything visible and confirms all prior corrections closed out.
Here’s what we recommend to Aventura homeowners: put the inspection schedule in the contract, tied to specific dates and responsibilities. Then confirm each inspection in writing with the contractor the day before. If your contractor resists this level of documentation, that’s the answer to a question you should have asked earlier. The whole point is to catch problems at the stage where they’re cheap.
Your Escalation Path: Contractor, Inspector, or Attorney
When a problem shows up mid-project, most homeowners jump straight to one of two reactions – ignore it, or call a lawyer. Neither is usually right. Here’s a clearer path.
Push back on the contractor when the issue is a documented deviation from the plans, an unperformed inspection, or a workmanship defect the contractor should correct under warranty. This is the first step nearly always. Put it in writing, cite the contract clause or code reference, and set a specific correction date.
Bring in a third-party inspector or engineer when the contractor disputes the diagnosis, when the issue involves structural or moisture concerns, or when the correction proposed doesn’t match the actual failure. A licensed engineer’s report costs a few hundred to a couple thousand dollars and settles almost every dispute. It also prepares you for the next step if the contractor refuses to correct.
Consult an attorney when the amount in dispute is significant, the contractor is unresponsive, or there’s a licensing or insurance issue involved. Construction defect claims in Florida have specific notice requirements and timelines – a construction attorney will tell you within an hour whether you have a case worth pursuing. Don’t wait until the 730-day or one-year warranty window has passed.
The escalation you skip is the one that costs you the most. Get everything in writing at each stage and the path stays clear.
Common Mistakes to Avoid
- Pouring the slab before tie-in details are verified. Require the engineer’s or architect’s detail for dowel spacing and epoxy before the pour starts, not after the slab has cured.
- Extending the existing HVAC without a load calculation. A new room that’s never comfortable is the most predictable outcome on an Aventura addition, and it’s always traced back to this one skipped step.
- Treating the rough-in inspection as a formality. A failed rough-in can set the project back a month in Miami-Dade. Confirm your contractor’s re-inspection plan before framing begins.
- Flashing with caulk instead of a proper membrane. In South Florida’s rainy season, sealant alone at the new-to-old junction fails within two or three years. The membrane matters.
- Accepting a one-page bid. A single total with no line items is where every “we never discussed that” argument starts. Request line-item pricing and a change order protocol in writing.
- Skipping the final inspection walkthrough with the contractor. Be on site for the final inspection and the pre-drywall walkthrough. The problems you see in person are the ones you can actually get fixed.
- Not verifying warranty terms before signing. Ask what happens if a defect appears in year two. The answer determines whether your contractor stands behind the work or disappears after the punch list.
See the difference
 Before
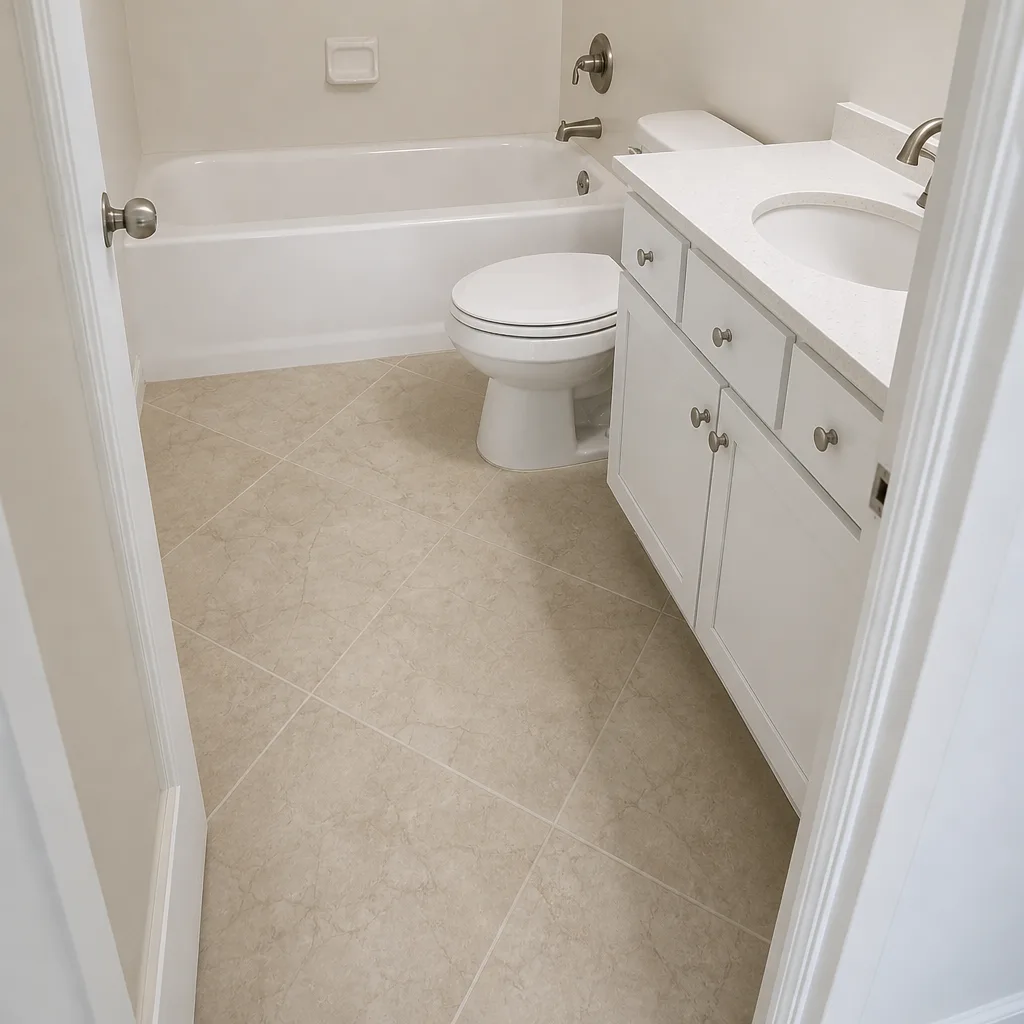 After
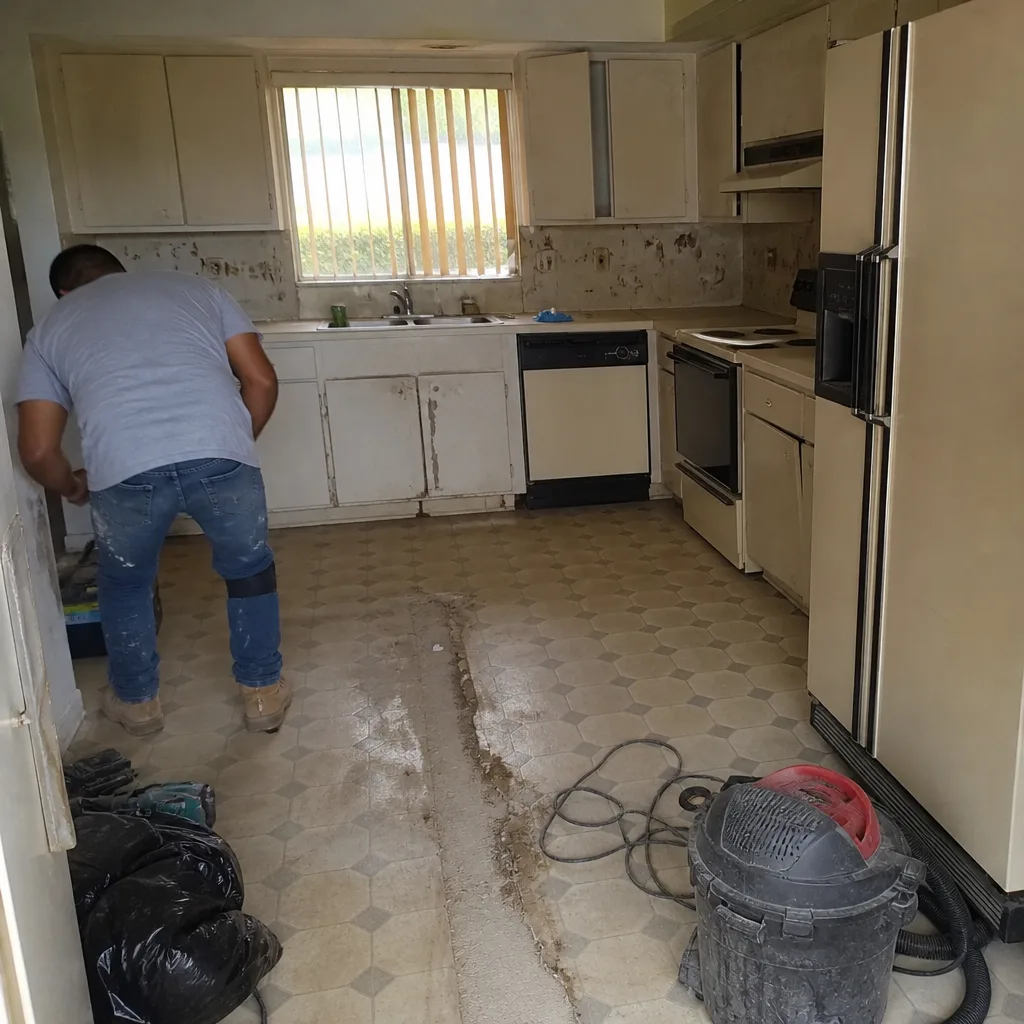 Before
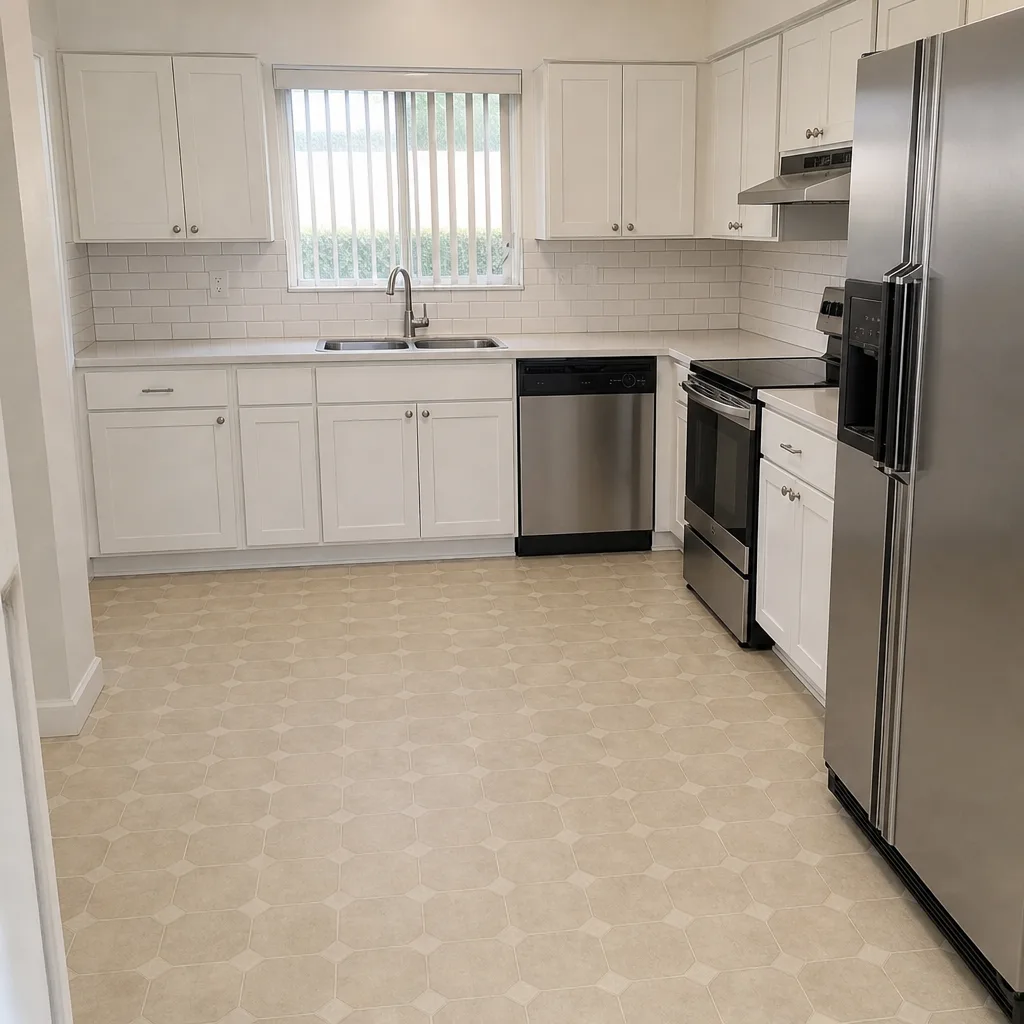 After
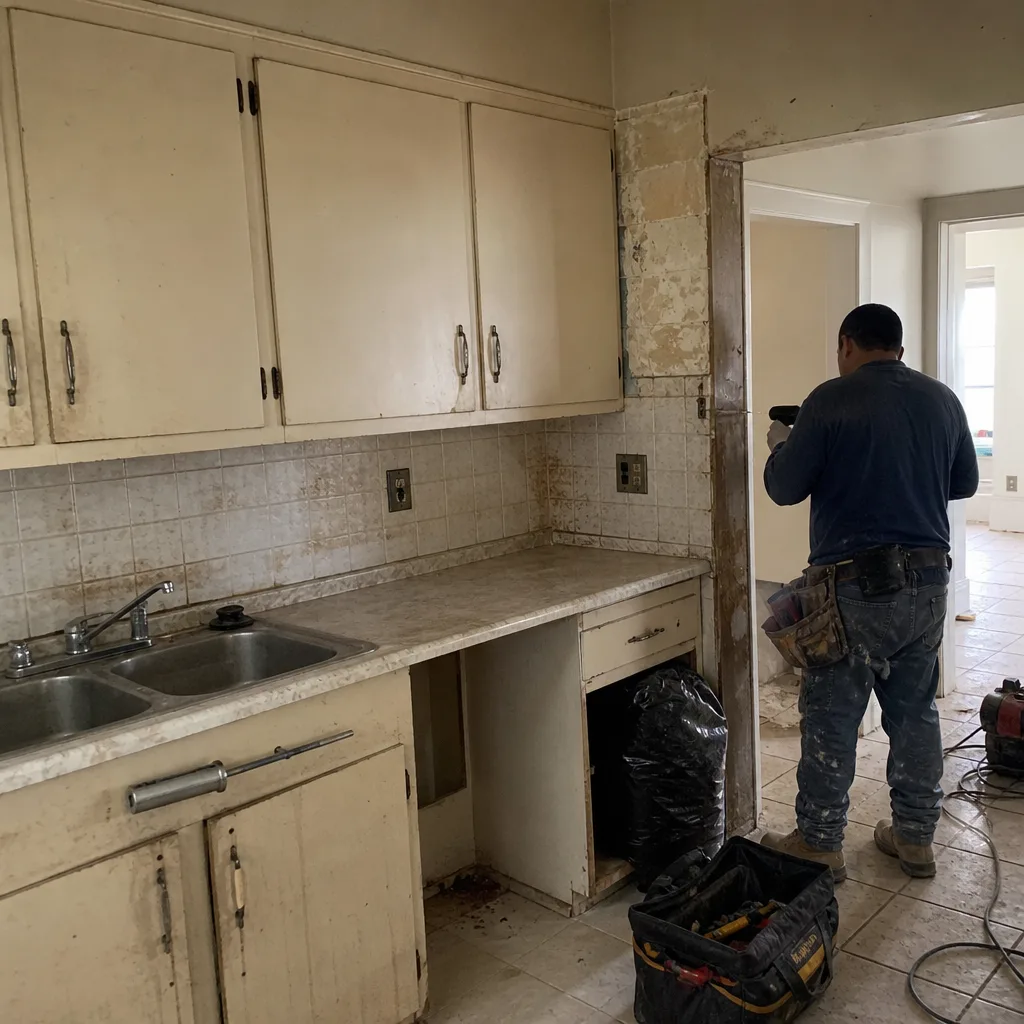 Before
 After
When to Call a Professional
Some of what this guide describes is a homeowner’s job to monitor, and some of it isn’t. When you see foundation tie-in cracks broader than a hairline, water intrusion that keeps returning after a repair, an HVAC system that never gets the new space comfortable, or a contractor who’s unresponsive to written escalation, it’s time to bring in a licensed professional. Structural, moisture, and HVAC load issues on an Aventura addition or ADU are not the place to test a YouTube tutorial. Florida building code, hurricane tie-downs, and the specific requirements for Miami-Dade product approval are unforgiving, and the remediation cost climbs fast once drywall is up.
Groundwork Construction Co. of Aventura offers free estimates for additions and ADU work in Aventura – call (833) 716-6251 to schedule yours. Our technicians have up to 12 years of experience, every project is covered by the 730-Day Done Right Promise, and calls are answered by a live person 24/7.
Frequently Asked Questions
Expect $8,000 to $25,000 for a proper remediation depending on square footage and access, and significantly more if the failure has caused structural damage to interior finishes. The repair usually involves epoxy-injected crack repair, engineered underpinning, and occasionally re-pouring a section of slab. A structural engineer’s report runs $600 to $1,500 and should always be the first step. Call (833) 716-6251 for an exact quote – estimates are free.
Ask for the Manual J load calculation for the combined structure. If the contractor can’t produce one, that’s the diagnosis. The fix is generally either a properly sized dedicated mini-split for the addition, a zoning system that balances airflow between the new and existing spaces, or upsizing the main system with a full duct redesign. The solution depends on which problem you actually have, and a load calc settles it fast. Call (833) 716-6251 for a free estimate.
In Miami-Dade and Aventura, no – most rough-in corrections require a licensed trade to pull the permit and re-inspect. The homeowner’s role is documentation and verification: keep the failed inspection report, request the contractor’s written line-item response, and confirm the corrected work with photos before it’s covered up. Call (833) 716-6251 if you need a second opinion on what the contractor is proposing.
Almost always a flashing or water-resistive barrier failure at the roof-wall intersection or the wall-to-wall joint. South Florida’s rainy season exposes these details faster than any other climate. The fix is a proper tear-back, correct flashing sequence with kick-out flashing, new membrane, and a water test before closing up. Skip any of those steps and the leak comes back. Call (833) 716-6251 for a free estimate on the corrective work.
Not if you have a written contract with line-item pricing and a change order protocol in place first. Every legitimate change order should be signed and dated before the change is executed, with a stated cost and schedule impact. If your estimate is a one-page lump sum with no line items, expect the price to move. Upfront pricing with no surprises is the standard you should demand. Call (833) 716-6251 for a free estimate and written line-item proposal.
A typical Aventura garage conversion to ADU runs four to six months; a full rear or second-story addition runs seven to ten months. Inspection scheduling in Miami-Dade is the biggest schedule variable – delays there ripple through every trade that follows. The way to keep the schedule honest is to attach the inspection schedule to specific dates in the contract. Call (833) 716-6251 for a project timeline specific to your scope.
The Bottom Line
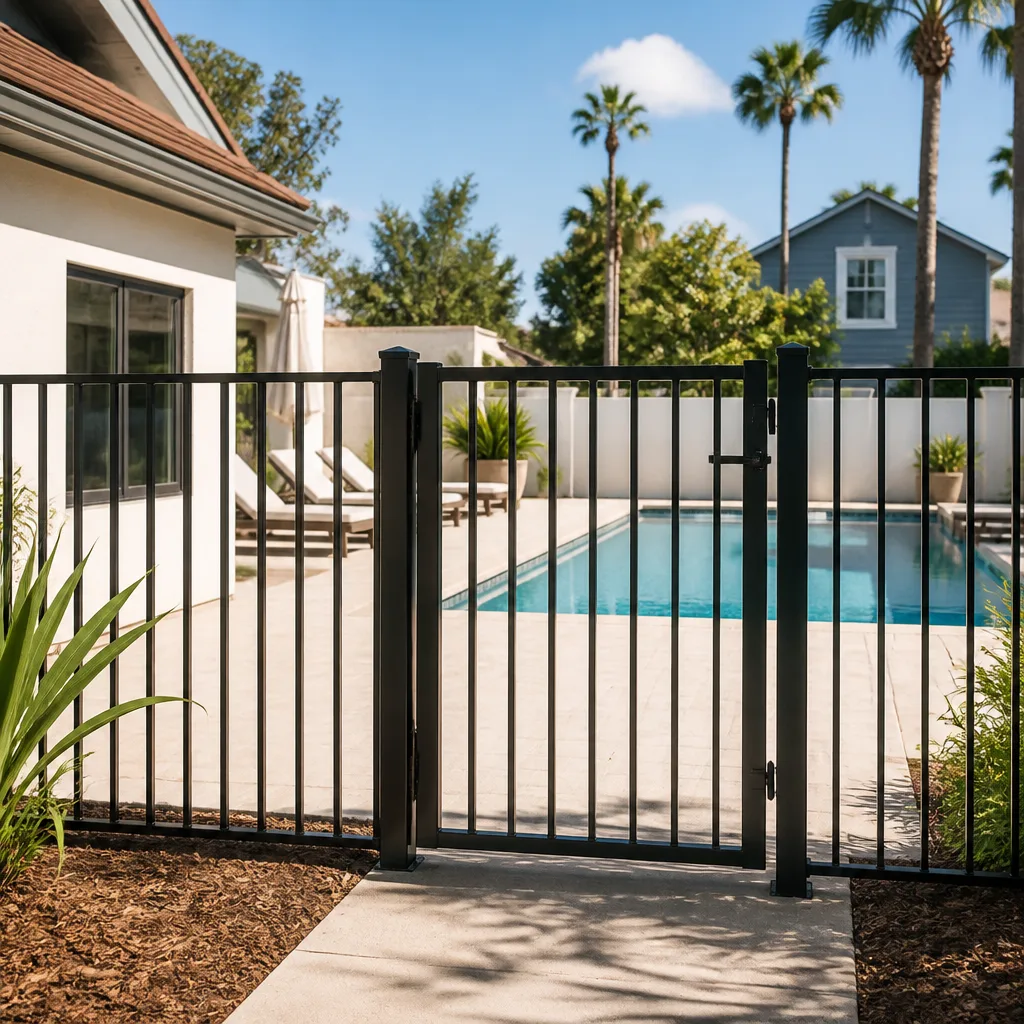
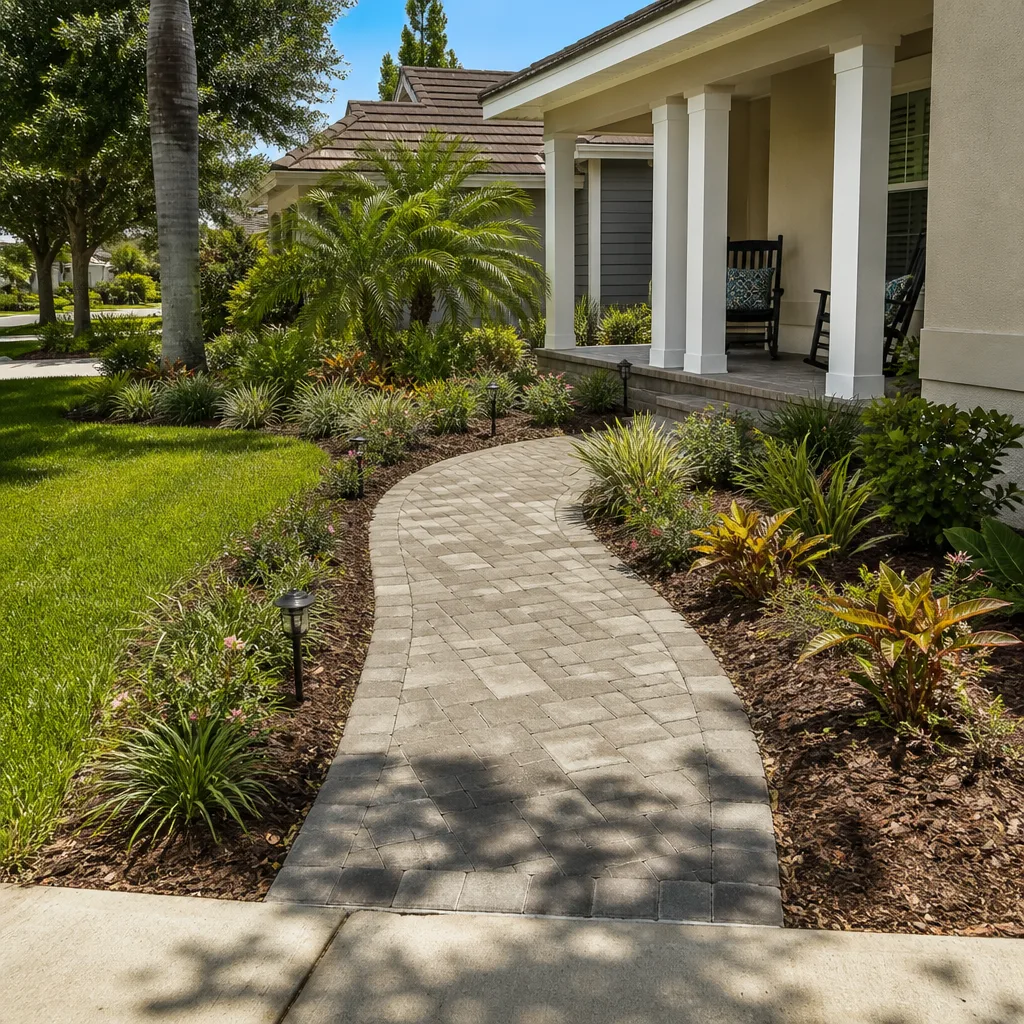
Almost every problem this guide covers traces back to something that happened in the first three weeks of the project – a detail in the plans that wasn’t defined, an HVAC calc that wasn’t run, an inspection that wasn’t scheduled, a scope document that wasn’t written down. The fix in the moment uses the escalation path: written pushback, then a third-party inspector, then an attorney if the amount justifies it. The long-term fix is choosing a contractor who documents the sequence from day one. Whether you’re planning a rear addition, a garage conversion, or a full ADU build-out, bring a written scope, a documented inspection schedule, and a load calculation to the first meeting. If you’re looking for a driveway, fence, or paved patio to complete the property, our team also covers Driveway & Pavers in Aventura and Fence Installation in Aventura, and materials like Jerith and Bufftech aluminum and vinyl fencing are commonly used to close off ADU yards in the neighborhood.
For a written line-item estimate on your Aventura addition or ADU, call Groundwork Construction Co. of Aventura at (833) 716-6251. Free project estimate and design consult, 0% financing for 18 months, and $1,000 off projects over $10,000 on approved work. All projects covered by the 730-Day Done Right Promise. Explore our full Home Additions & ADU in Aventura service page to see how we scope a project from foundation to finish line.
Written by the team at Groundwork Construction Co. of Aventura.