Last updated November 18, 2026





Free written scope consultation - allowances, timeline, and change-order rules on paper before a single trade is scheduled
Home Additions & ADU Maintenance Schedule: What to Do and When
New construction has a 12-month defect window in Florida, but the problems that cost real money – moisture intrusion, HVAC inefficiency, foundation settling – often don’t show up until month 13. That gap is where homeowners get hurt. We’ve watched additions in Aventura sail through the one-year walkthrough and develop hairline stucco cracks, musty guest-suite odors, and wicking at the joint to the main house by month 18. A home addition or ADU isn’t maintenance-free because it’s new. It’s actually higher-maintenance in its first three years, when material settling, caulk shrinkage, and system integration issues surface. Here’s the calendar that closes the gap.
Quick Answer
A home addition or ADU needs a structured maintenance schedule from day one: monthly visual checks and mini-split filter cleaning, quarterly roof and caulk inspections, an annual re-caulking of the transition zone where the new structure meets the original house, and an independent inspection at year three before most contractor warranties expire. In Aventura’s salt-air and high-humidity climate, exterior paint and stucco should be checked every two to three years – a shorter cycle than most inland Florida guides acknowledge.
Styles & brands we work with
- Kitchen remodeling
- Bathroom remodeling
- Home additions & ADU
- Roofing
- Windows & doors
- Driveway & pavers
- Fence
Table of Contents
- Why a New Addition or ADU Needs More Maintenance, Not Less
- The First-Year Month-by-Month Checklist for South Florida
- The Transition Zone: Annual Re-Caulking Protocol
- Mini-Split Maintenance in Aventura Humidity
- The 3-Year Inspection Checklist (Before Warranties Expire)
- Exterior Paint & Stucco in Aventura’s Salt Air
- Hurricane Season Prep for Additions and ADUs
- Keeping a Maintenance Log That Protects You
Why a New Addition or ADU Needs More Maintenance, Not Less
Every material in a new structure has to move. Wood framing shrinks as it dries. Stucco cures and pulls slightly. Caulk at every joint goes from flexible to brittle as the solvents flash off. Concrete slabs settle into soil that was disturbed during excavation. None of this is a defect – it’s physics – but all of it opens gaps, and gaps in South Florida let in water and humid air.
Additions built onto an existing house carry an extra risk. Where the new framing, roof, and wall tie into the original structure is a hybrid of old and new materials that move at different rates. That transition zone is the single most vulnerable spot on the whole build. In our experience, water finds it first.
Aventura adds two more variables. First, salt air off the Intracoastal accelerates corrosion on fasteners, flashing, and metal door frames – especially in neighborhoods like Eastern Shores and along the Sunny Isles corridor. Second, year-round humidity above 70 percent means any pinhole leak in the roof-to-wall junction feeds mold within weeks, not months.
None of this means you should regret the build. It means a two-hour maintenance routine every quarter, plus one professional inspection a year, protects a five- or six-figure investment from the kind of damage that turns a $200 caulk repair into a $9,000 stucco-and-insulation replacement.
The First-Year Month-by-Month Checklist for South Florida
The first twelve months are when the vast majority of settling, shrinkage, and integration issues reveal themselves. Walk the addition once a month with a notebook and phone camera. Here’s what to look for and when.
- Month 1: Photograph every exterior wall, roof-to-wall junction, and window corner. These are your “zero point” baseline images. Note any hairline cracks already present.
- Month 2: Check interior drywall at door frames and ceiling corners for hairline cracks. Small ones are normal settling. Cracks wider than a credit card indicate something to flag.
- Month 3: Inspect all exterior caulking at windows, doors, and the transition zone. Expect shrinkage lines. Note them – don’t panic yet.
- Month 4: Test the mini-split in both heating and cooling modes for 20 minutes. Note any water pooling in the condensate line or drain pan.
- Month 5: After the first heavy rain of the season, walk the interior perimeter of the addition looking for staining on ceilings, drywall, or baseboards. This is your first real moisture test.
- Month 6: Check the roof-to-wall junction from the ground with binoculars. Look for lifted flashing, missing sealant, or granule loss on shingles.
- Month 7: Inspect hurricane shutter tracks and brackets for debris, misalignment, or corrosion. Aventura’s salt air works on this hardware fast.
- Month 8: Look at exterior stucco for any cracks that follow a horizontal or stair-step pattern – those can signal structural movement rather than normal settling.
- Month 9: Flush the mini-split condensate line with a cup of distilled white vinegar. Skip this and you’ll have a wet ceiling in the middle of August.
- Month 10: Re-check all caulking joints you noted at month 3. Shrinkage should have stabilized. Any new gap is worth investigating.
- Month 11: Schedule your 11-month walkthrough – the point at which most builder warranties allow you to submit a punch list of defects before the 12-month window closes.
- Month 12: Full photographic comparison against month-one baseline. File everything with your contract paperwork.
If you’re planning an addition and want to see how the full build scope fits together, our team covers Home Additions & ADU in Aventura from permits through final walkthrough.
The Transition Zone: Annual Re-Caulking Protocol
The transition zone is where the new addition attaches to the original house – the wall plane, roof line, and any shared foundation edge. It’s the seam that two different structures share, and every one of them moves independently. Water finds this spot first because it’s where two drainage planes have to negotiate.
Here’s the annual re-caulking protocol we recommend for Aventura homeowners, worked through step by step:
- Inspect in late spring (before June 1). Hurricane season starts June 1. Caulk applied in the cooler, drier months holds better than what you’d get in August humidity.
- Probe the joint with a plastic putty knife. If the existing caulk is brittle, cracked, or pulls away when probed, it needs to be cut out – new caulk won’t bond to failing caulk.
- Remove the old caulk entirely. Use a caulk removal tool or utility knife. This is the step most people skip and it’s why their re-caulk fails within a season.
- Clean and dry the joint. In Aventura, a joint that looks dry may hold residual moisture for 24 to 48 hours. Wait for a three-day dry spell before recaulking.
- Prime porous surfaces if the substrate calls for it. Stucco, concrete, and brick often need a primer or conditioner before the caulk will adhere.
- Apply a high-performance polyurethane or silyl-terminated polymer (STP) sealant. Not silicone, not standard acrylic. You want a sealant rated for concrete-to-wood or concrete-to-metal joints with a movement capacity of at least 25 percent.
- Tool the joint to a concave profile. A concave curve sheds water and doubles the caulk’s effective surface area at the joint faces.
- Document with dated photos. This is your evidence if the joint ever leaks and you need to make a warranty claim.
Budget one tube of sealant per 15 linear feet and about two hours for a 400-square-foot ADU’s transition zone. If you find soft framing, dark staining, or a spongy substrate during the recaulk, stop and call a professional. Those are signs moisture has been getting in for a while.
Mini-Split Maintenance in Aventura Humidity
Most ADUs in Aventura rely on a ductless mini-split for climate control because the size and layout make ductwork impractical. These systems are efficient, quiet, and easy to ignore – which is exactly why they fail. Two things break a mini-split in South Florida: clogged filters and a blocked condensate line.
Filter cleaning frequency. Clean the filter every four to six weeks during cooling season (roughly May through October in Aventura). That’s more often than the manufacturer’s “every 60-90 days” recommendation, because year-round AC usage and Aventura’s coastal dust load mean the filter loads faster. A clogged filter drops cooling efficiency by 15 to 25 percent and strains the compressor.
Condensate line flushing. The condensate drain carries a gallon or more of water per day out of the air handler. In Aventura’s humidity, algae and biofilm grow in that line fast. Flush it monthly with a cup of distilled white vinegar. Every six months, use a shop vac to pull any blockage from the outdoor end. A blocked line shuts down the unit on a safety float switch – or, worse, overflows into the ceiling before the switch trips.
Landlord trap worth flagging. If you rent the ADU, your tenant will not clean the filters. They won’t flush the condensate line. Build both tasks into the lease as tenant maintenance or include quarterly maintenance in your property management scope. We’ve seen ADUs where a two-year-old mini-split required a full coil cleaning because the filter was never touched.
Professional service frequency. Once a year, have the unit serviced: coil cleaning, refrigerant charge check, electrical connections, and drain pan cleaning. Budget around $150 to $250 for a single-zone ductless service call in the Aventura market.
The 3-Year Inspection Checklist (Before Warranties Expire)
Most construction warranties on additions and ADUs – including full workmanship coverage – run for a defined period after completion. Before yours expires, hire an independent, licensed inspector to look at the addition with fresh eyes. The contractor who built it is not the right person for this job, and neither are you. An independent inspector finds things you won’t because they see the same failure patterns every week.
Here’s the checklist to hand your inspector at the three-year mark:
- Roof-to-wall junction and all flashing details – especially where the addition roof meets the original structure.
- Attic-side inspection of the roof deck for staining, moisture, or compromised sheathing.
- Foundation and slab perimeter for differential settlement, cracks wider than 1/8 inch, or soil erosion around the footings.
- Exterior stucco for cracks that follow a horizontal or stair-step pattern – those often indicate structural movement rather than cosmetic shrinkage.
- Window and door penetrations for water intrusion behind trim, especially on the windward side of the addition.
- Electrical panel and subpanel if the addition has its own circuit run – verify breaker labeling, GFCI function, and any signs of heat damage.
- Plumbing penetrations and shutoff valves for the ADU’s bathroom and kitchenette.
- HVAC refrigerant lines and condensate route for insulation degradation or moisture issues in the wall cavity.
- Bathroom and kitchenette ventilation – verify exhaust fans duct to the exterior, not the attic.
At the three-year mark you should also schedule a full building-envelope inspection – a thermal imaging scan is worth the extra $200 to $400 in Aventura because it detects moisture behind stucco before it becomes visible inside. If anything surfaces, you submit a warranty claim while coverage is still active.
Exterior Paint & Stucco in Aventura’s Salt Air
Standard Florida guidance says repaint stucco every 7 to 10 years and fix cosmetic stucco cracks as they appear. Aventura homeowners should shorten that cycle. Salt air from the Intracoastal and Atlantic accelerates the breakdown of paint film, caulk, and metal fasteners. In our experience, coastal Aventura properties west of Biscayne Boulevard start showing paint chalk and stucco deterioration at year 5 to 6 – not year 8. Properties directly on the water or in Eastern Shores need attention sooner.
Here’s the realistic Aventura exterior maintenance calendar:
- Years 1-2: Inspect every four months. Touch up hairline stucco cracks with elastomeric patching compound as needed. Do not mask cracks with paint – fix them first.
- Year 3: Full exterior washing. Check for paint chalk, blistering at trim, and any peeling edges around windows and doors.
- Years 5-6: Plan on a first repaint in typical Aventura salt-air conditions. This is two to four years ahead of most inland Florida timelines and reflects the local environment honestly.
- Year 8 onward: Recalt every 5 to 6 years, or sooner if chalking, blistering, or stucco erosion appears on the windward side.
Two stucco crack patterns are worth knowing apart. Shrinkage cracks – short, hairlines, often spider-webbing in a V or diagonal pattern – are cosmetic and normal. Fill them with elastomeric patch and move on. Structural cracks – long, continuous, often horizontal or stair-stepping along mortar joints – signal movement at the foundation or frame. Those get a professional evaluation, not a tube of patch.
Exterior paint selection matters here too. A 100 percent acrylic latex rated for coastal exposure lasts meaningfully longer than a lower-grade product. The stucco will only hold what the paint will survive.
Hurricane Season Prep for Additions and ADUs
Aventura sits in a Florida high-velocity hurricane zone, and the building code for additions and ADUs is stricter than the code for older homes nearby. That’s good news for the build quality – and it creates a specific set of prep tasks every spring. Shutter tracks and impact-rated windows do their job only if they’re maintained.
Work through this list in May, before hurricane season opens June 1:
- Inspect hurricane shutter tracks. Clear debris, wipe down tracks, and apply a light silicone spray to the slider mechanism. Corrosion in coastal Aventura is common; sand and salt are the enemy.
- Test every shutter or panel installation at least once in the off-season. Don’t discover a stripped bolt at 11 p.m. the night before landfall.
- Check impact windows and doors for cracked glazing, failed seals, or damaged weatherstripping. Impact-rated glass – PGT and CGI products are common in this market – holds up well but the perimeter seal fails with age.
- Inspect roof flashing and the addition’s roof tie-in for lifted edges or missing fasteners. High wind finds the weakest point on a hybrid roof line first.
- Clear gutters and downspouts. Aventura’s summer rain volume is intense; a clogged downspout backs up to the fascia and rots the trim behind it.
- Document condition with photos. Pre-storm images are the foundation of any insurance claim.
One local note: Aventura requires that additions comply with current Florida Building Code wind-load requirements, and any post-storm repair work may trigger an inspection. If your addition took on water during a named storm, get a professional assessment before you patch anything. Hidden damage behind stucco is where insurance claims either succeed or fail.
Keeping a Maintenance Log That Protects You
A maintenance log is the single most underrated tool for protecting a new addition. When you make a warranty claim – or an insurance claim – the first thing the other party asks for is proof that you maintained the property. If you have dated photos, receipts for caulk and sealant, mini-split service records, and a written log, you’re in a dramatically stronger position than a homeowner who says “I’ve been keeping up with it.”
Here’s what goes in the log:
- Date and description of every maintenance task completed
- Photos before, during, and after – especially of the transition zone recaulk
- Receipts for materials and professional services
- Contractor and inspector reports with the person’s license number and date
- Warranty documents for the roof, windows, HVAC, and any appliances
Keep the digital version in the cloud with a backup and the physical copy in a binder labeled “ADU Maintenance.” It takes five minutes to update after each inspection. It’s the difference between a clean warranty claim and an argument. For a broader view of exterior care, our guide to Fence Installation in Aventura covers the same logging discipline for any improvement project.
Common Mistakes to Avoid
- Assuming “new” means “worry-free.” The first three years are the highest-risk period for an addition. Treat maintenance as front-loaded, not back-loaded.
- Skipping the transition zone during annual caulking. Homeowners caulk the windows and doors and forget the seam where the addition meets the original house. That’s the spot that leaks.
- Cleaning the mini-split filter once a year. In Aventura’s climate, every four to six weeks during cooling season is the real number. Once a year is how you kill a compressor.
- Using standard acrylic caulk on the transition zone. Acrylic won’t hold a moving joint. You need a polyurethane or STP sealant rated for 25 percent movement.
- Painting over stucco cracks without patching. Paint hides a crack for one season, then peels away from it. Patch first, paint second.
- Waiting until the warranty expires to hire an independent inspector. Book the inspection at year three, not year four, and give yourself time to file any warranted repairs.
- Skipping the pre-hurricane shutter test. A stuck shutter track during a storm warning is a serious problem. Test the system in May, not June.
Every one of these mistakes is easy to avoid with a written schedule and a monthly reminder on your phone. Add a note in your calendar for the first of each month, and the whole routine takes maybe 20 minutes of active work per quarter. If you’re still planning your addition rather than maintaining one, the Groundwork Construction Co. of Aventura home is a good place to start the conversation.
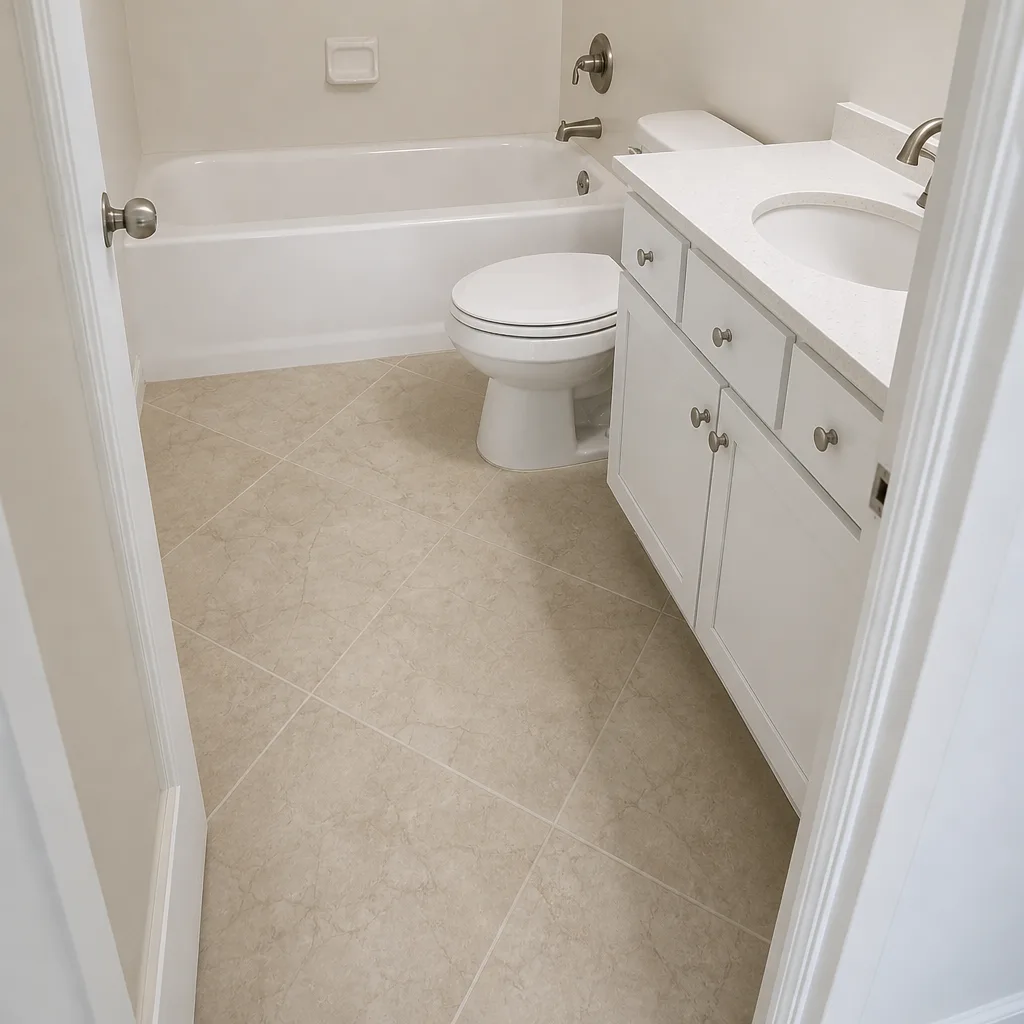
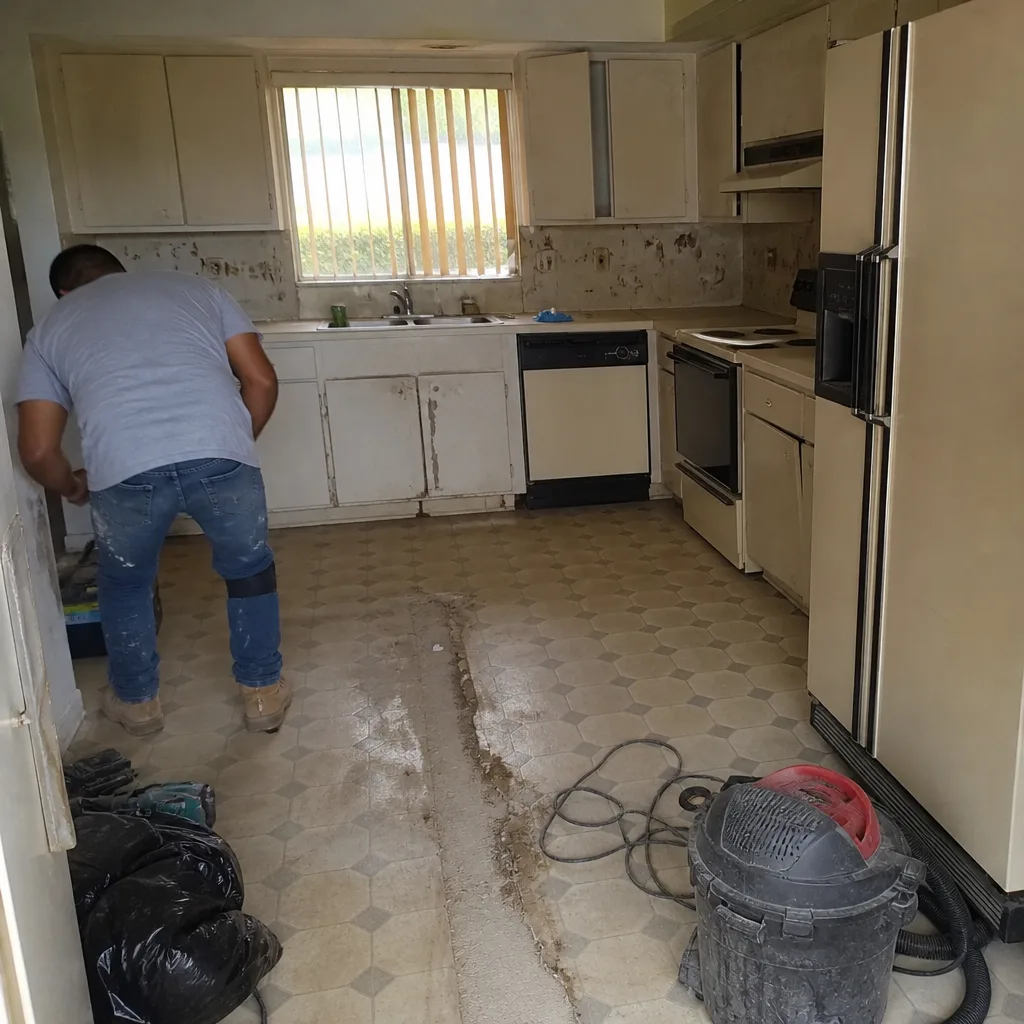
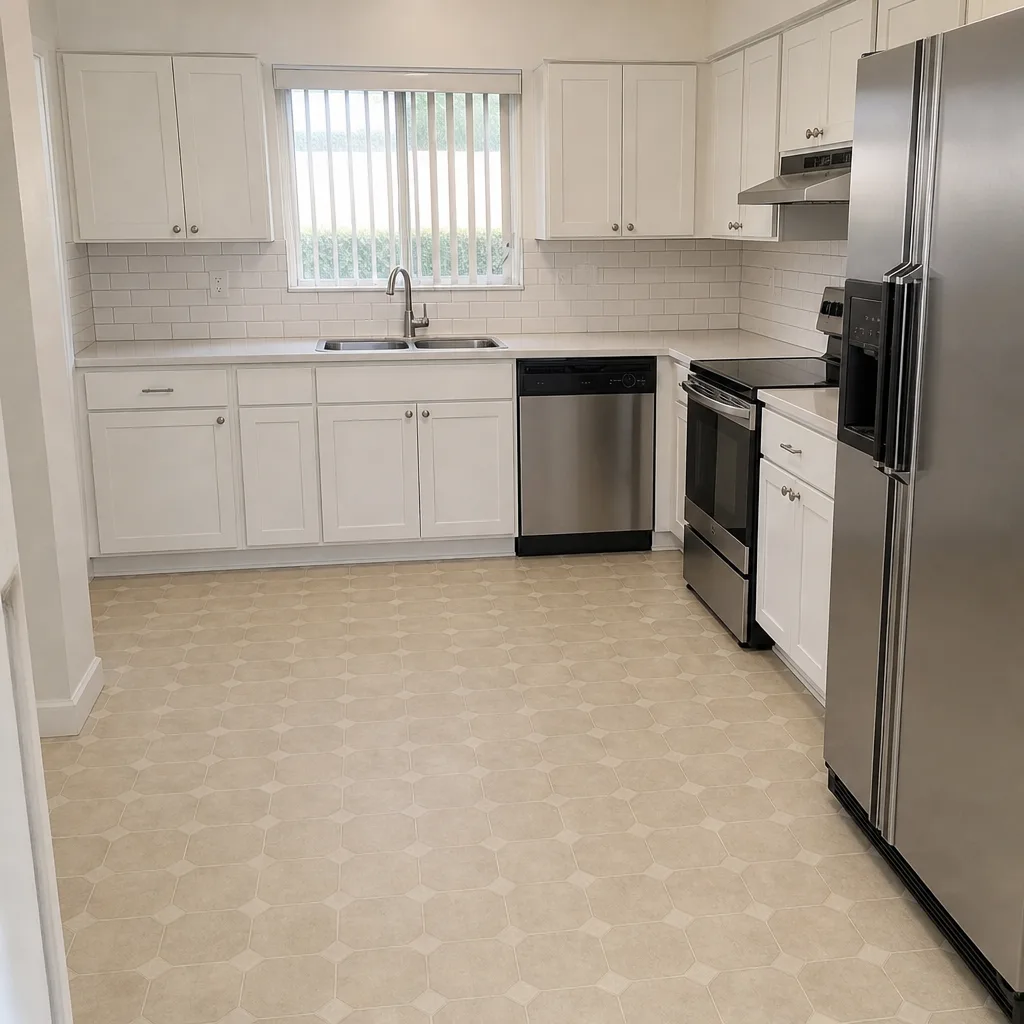
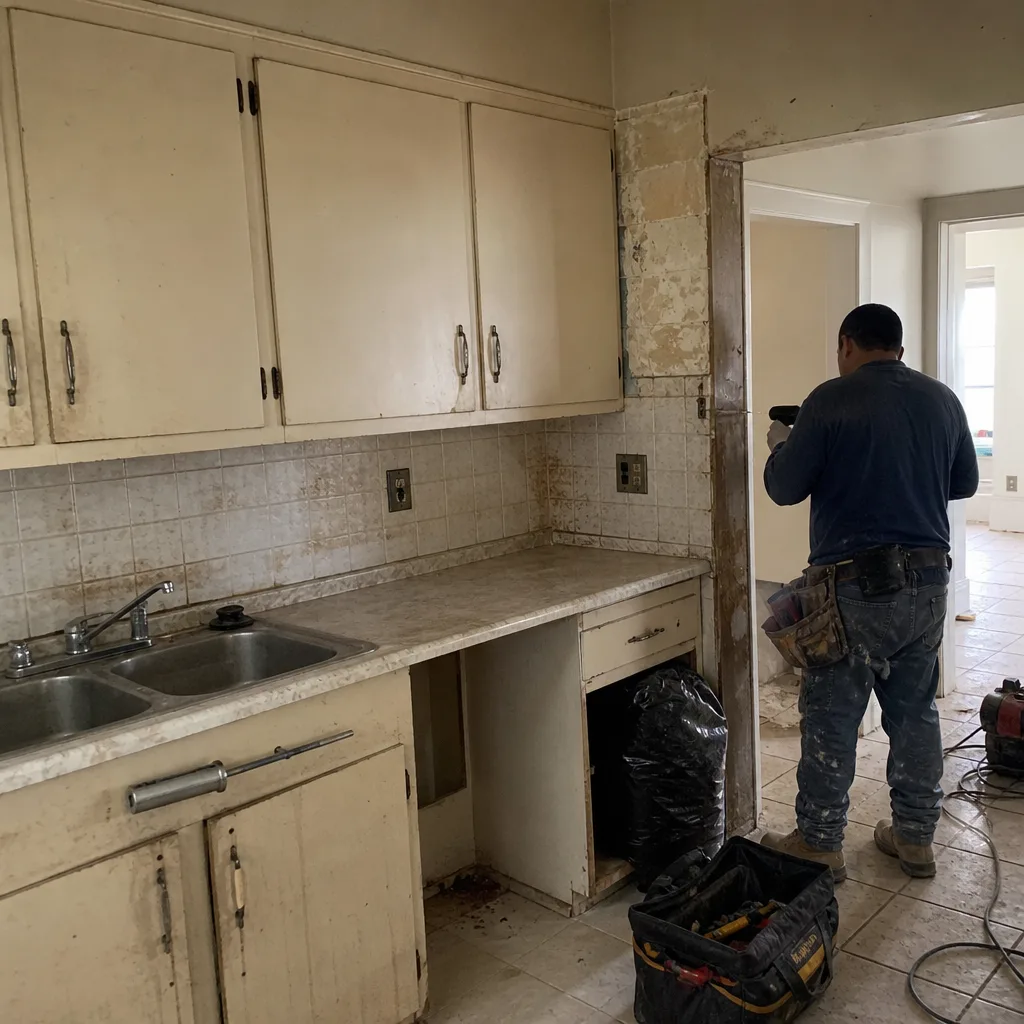
See the difference
 Before
 After
 Before
 After
 Before
 After
When to Call a Professional
Some maintenance is homeowner work. Some of it isn’t – and doing it yourself can void a warranty or make a small problem much worse. Call a professional when you see any of these signs:
- Cracks in stucco wider than 1/8 inch, or any stair-step crack pattern
- Water staining on interior ceilings, drywall, or baseboards – anytime, not just after rain
- Soft or spongy framing or trim around doors, windows, or the transition zone
- Mini-split units that freeze up, cycle constantly, or trip the breaker
- Any concern about roof-to-wall flashing on the addition
- Hurricane shutter hardware that’s corroded, seized, or missing fasteners
- Any structural concern you can’t positively identify – get an expert opinion
Groundwork Construction Co. of Aventura offers free estimates in Aventura – call (833) 716-6251 to schedule. A live person answers, 24/7, and every project we complete is backed by our 730-Day Done Right Promise. From foundation to finish line, we’ve built a reputation on straight answers and work that holds up.
Frequently Asked Questions
An ADU should get a homeowner visual inspection monthly, an annual professional inspection before hurricane season, and a full independent building-envelope inspection at the three-year mark – before most contractor warranties expire. In Aventura’s salt air and humidity, that three-year inspection is more valuable than people realize because moisture issues stay hidden behind stucco until they’re costly. Call (833) 716-6251 for a free estimate if you’re planning an ADU build and want the maintenance plan from the start.
Caulk on a new addition fails within 12 to 18 months because the substrate is still moving. The new framing dries and shrinks, the stucco cures, and the joint between new construction and the existing house flexes at a different rate than either side. A high-movement polyurethane or STP sealant rated for 25 percent movement lasts longer than standard acrylic, but the joint should be re-inspected annually and recaulked every two to three years. Call (833) 716-6251 if you’d rather have a professional handle the transition zone.
A comprehensive 3-year building inspection in Aventura typically runs $450 to $800, and adding thermal imaging for moisture detection usually adds $200 to $400. Compare that to a full stucco-and-insulation repair, which often runs $8,000 to $15,000 in this market. The inspection pays for itself when it catches one hidden leak. Call (833) 716-6251 to schedule a free estimate if the inspection turns up anything that needs repair.
Clean the filter every four to six weeks during AC season in Aventura, which runs roughly May through October. That’s more often than the manufacturer recommends because year-round cooling plus coastal dust load fouls the filter faster than inland climates. A clogged filter cuts efficiency 15 to 25 percent and shortens compressor life. Flush the condensate line monthly with distilled white vinegar – a step landlords routinely skip and it costs a wet ceiling when the drain overflows.
Plan on every five to six years for a typical Aventura property, and as often as every four to five years if the addition faces the Intracoastal wind or sits in Eastern Shores. That’s two to four years sooner than the seven-to-ten-year cycle most mainland Florida guides cite. Salt air breaks down paint film and caulk faster than inland conditions, and a 100 percent acrylic latex rated for coastal exposure will hold up meaningfully longer than a lower-grade product.
Normal settling produces short, hairline cracks that often spider-web diagonally in stucco, and they stabilize within the first two years. Structural movement shows as long, continuous cracks – often horizontal or stair-stepping along mortar joints – plus doors that stick, floors that slope, or exterior cracks wider than 1/8 inch. Hairline shrinkage cracks get patched and monitored. Structural cracks get a professional evaluation. Call (833) 716-6251 for a free estimate if you’re not sure which you’re looking at.
The Bottom Line
A home addition or ADU is a long-term asset that only stays an asset if you maintain it. The first three years are the highest-risk window – when settling, caulk shrinkage, and system integration issues surface – and a written schedule turns that window into a manageable routine instead of a series of emergency repairs. Clean the mini-split filters every month, recaulk the transition zone every year, inspect the roof and stucco every spring before hurricane season, and hire an independent inspector at year three. Aventura’s salt air and humidity shorten every cycle we’ve covered here, so lean earlier rather than later. Backed in writing matters most when you keep your own records, too.
If you’re planning a new addition or ADU in Aventura and want the build done right the first time – so the maintenance starts from a sound foundation – our team handles permits, design consultation, materials sourcing, and final walkthrough under the 730-Day Done Right Promise. Call (833) 716-6251 for a free estimate. Live person, 24/7. Upfront pricing, no surprises. And if you’ve got other exterior projects in the queue, Driveway & Pavers in Aventura is worth a look – those improvements follow the same maintenance discipline.
Written by the team at Groundwork Construction Co. of Aventura.